Best Light Meter for Photography: Specs, Autofocus & Lens Pairing
As an Amazon Associate we earn from qualifying purchases. Some links in this guide are affiliate links, see our affiliate disclosure for details.
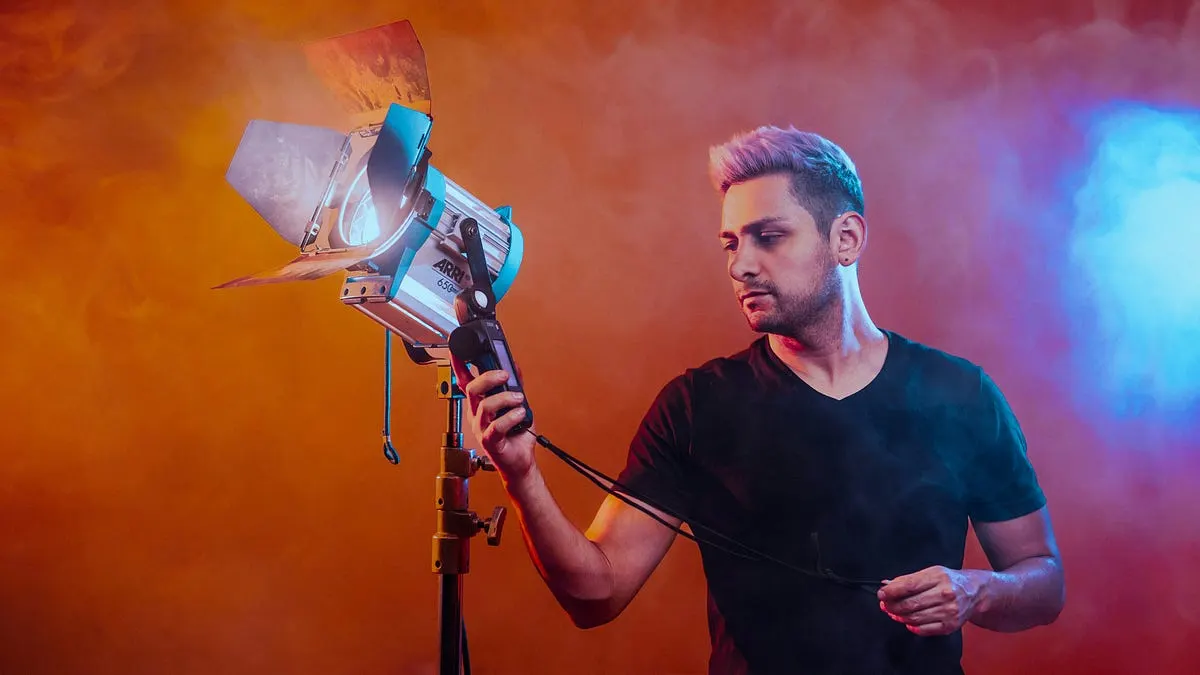
Photo by Ritchie Rodas on Unsplash
Which light meter is best for photography?
Key options include the Sekonic L-308X Flashmate, Sekonic L-398A Studio Deluxe III, Sekonic Speedmaster L-858D-U and TTArtisan Light Meter II. It explains the types of meters and how to choose.
As photographers, we’re all chasing that perfect exposure. We want our images to be neither too dark nor too bright, but just right. While modern cameras have sophisticated built-in meters, many photographers, especially those working with film or in challenging lighting situations, rely on a trusty light meter.
Quick list
- Sekonic L-308X Flashmate: A great all-around meter for both ambient and flash photography.
- Sekonic L-398A Studio Deluxe III: A classic analog meter that doesn’t require batteries.
- Sekonic Speedmaster L-858D-U: An advanced meter with a touchscreen display and a wide range of features.
- TTArtisan Light Meter II: A compact and affordable option for film photographers.
- Gossen Digisix 2: Best light meter for beginners.
What is a Light Meter?
A light meter is a device that measures the amount of light in a scene. It provides precise readings that allow photographers to set the correct aperture, shutter speed, and ISO for optimal exposure.
Why Use a Light Meter?
- Accuracy: Light meters provide more accurate readings than in-camera meters, especially in tricky lighting situations like high-contrast scenes, backlighting, or when working with flash.
- Consistency: Using a light meter ensures consistent exposure across a series of shots, which is crucial for film photography and time-lapse sequences.
- Control: Light meters give photographers more control over their images, allowing them to make informed decisions about exposure and create specific moods or effects.
Types of Light Meters
There are two main types of light meters:
- Incident Light Meters: These meters measure the amount of light falling on the subject. They have a white dome or disc that is pointed towards the camera. Incident light meters are useful for determining the overall exposure of a scene and ensuring that the subject is properly exposed.
- Reflected Light Meters: These meters measure the amount of light reflected by the subject. They are pointed towards the subject and read the light that bounces off its surface. Reflected light meters are commonly found in cameras.
Modern Light Meter Features
Today’s light meters come with a range of advanced features, including:
- Digital displays: For easy-to-read measurements.
- Flash metering: To measure the output of electronic flashes.
- Spot metering: To measure the light in a very specific area of the scene.
- Color temperature measurement: To ensure accurate color reproduction.
- Wireless connectivity: To remotely trigger flashes and control camera settings.
Choosing the Right Light Meter
The best light meter for you will depend on your specific needs and shooting style. Consider the following factors when making your selection:
- Type: Do you prefer incident or reflected metering?
- Features: What features are important to you, such as flash metering, spot metering, or color temperature measurement?
- Budget: Light meters range in price from affordable to professional-grade.
- Size and weight: Do you need a compact and lightweight meter that you can easily carry around?
Light Meter Apps
In addition to dedicated light meters, there are also many excellent light meter apps available for smartphones. While not as accurate as professional-grade meters, these apps can be a useful tool for casual photographers or those on a budget.
Conclusion
A light meter is an invaluable tool for any photographer who wants to achieve accurate and consistent exposures. Whether you’re a seasoned professional or a beginner, a light meter can help you take your photography to the next level. By understanding how light meters work and how to use them effectively, you can master the art of exposure and capture stunning images in any lighting situation.
Compare with 10 Best Professional Video Camera for Low Light and Best Low Light 4k Video Camera, or check the depth-of-field tool.
Camera & Lens Settings by Real-World Use Case
Match your focal length, aperture, shutter speed, and lighting modifier to the exact environment you shoot in.
Tattoo Artists & Micro-Realism Portfolios
- Best Body:
- Sony Alpha a7 III / Fujifilm X-T4
- Ideal Lens:
- 90mm f/2.8 Macro (detail) or 50mm f/1.8 (sleeves & back pieces)
- Aperture & Shutter:
- f/5.6 – f/8 (keeps curved forearms and calves sharp edge-to-edge) · 1/125s – 1/200s handheld (or 1/60s on tripod)
- Room Distance:
- 0.4m – 1.5m (1.5 to 5 ft)
Barbershops, Hairstylists & Color Salons
- Best Body:
- Sony a7 IV / Canon EOS R6 Mark II
- Ideal Lens:
- 50mm f/1.8 (tight stations) or 85mm f/1.8 (spacious salons)
- Aperture & Shutter:
- f/1.8 – f/2.8 (blurs background chairs while keeping the lineup tack-sharp) · 1/160s – 1/250s (freezes subtle head movement in the chair)
- Room Distance:
- 1.5m – 2.4m (5 to 8 ft from the styling chair)
Makeup Artists (MUA) & Beauty Tutorials
- Best Body:
- Sony Alpha a6400 / Canon G7 X Mark III
- Ideal Lens:
- Sigma 56mm f/1.4 DC DN (APS-C) or 50mm–85mm f/1.8 (Full Frame)
- Aperture & Shutter:
- f/2.8 – f/4 for full-face sharpness; f/5.6 for macro eye/lip close-ups · 1/125s for stills; 1/50s (24p) or 1/120s (60p) for video tutorials
- Room Distance:
- 1.2m – 2.2m (4 to 7 ft)
Written by
Marien CartelMarien Cartel runs Marien Cartel Photography, a camera and lens buying-guide site, and photographs the gear shown on it.
Related Guides
Best Compact Camera for Low Light: Specs, Autofocus & Lens Pairing
Best Compact Camera for Low Light — Sony RX100 VA/ and Panasonic Lumix LX100 II compared, with pros, cons and who should buy which.
Best Focal Length for Portraits: Specs, Autofocus & Lens Pairing
Best Focal Length for Portraits — a practical buying guide covering what matters, common mistakes and what to buy.
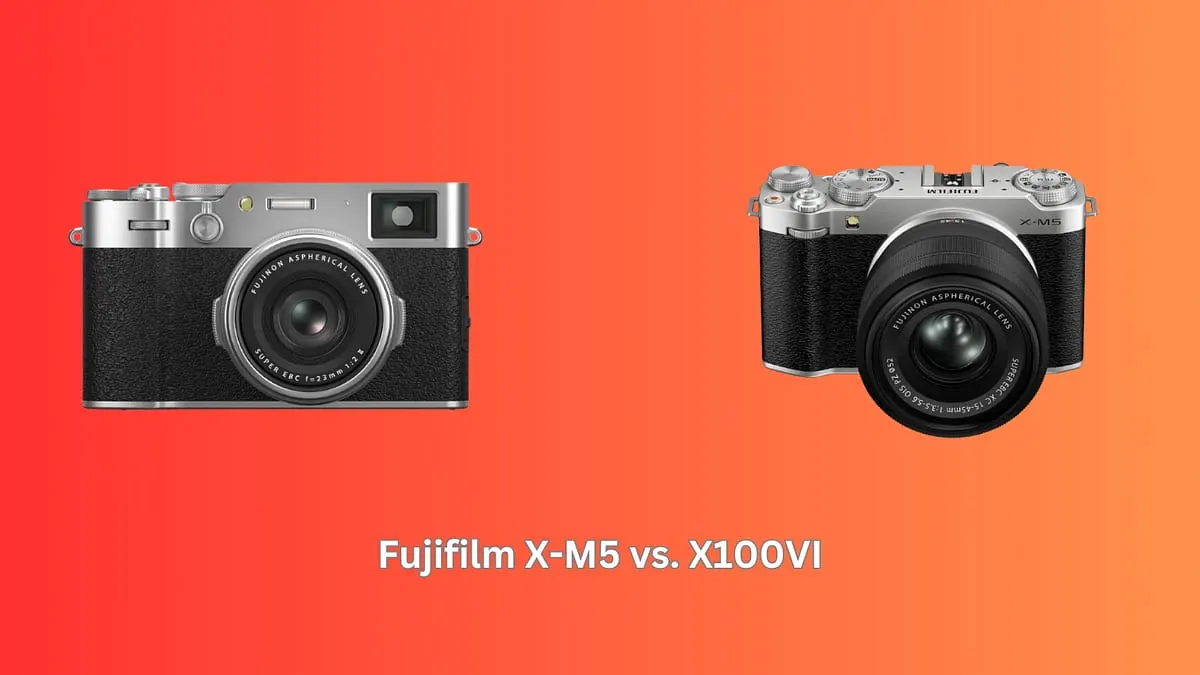
Fujifilm X-M5 vs. X100VI: Specs, Autofocus & Lens Pairing
Fujifilm X-M5 vs. X100VI compared — where each one wins, where it falls short, and who should buy which. Updated for 2026.
Best Focal Length for Vlogging: Specs, Autofocus & Lens Pairing
Best Focal Length for Vlogging: what to look for, what to skip and how to choose the right one for your budget.
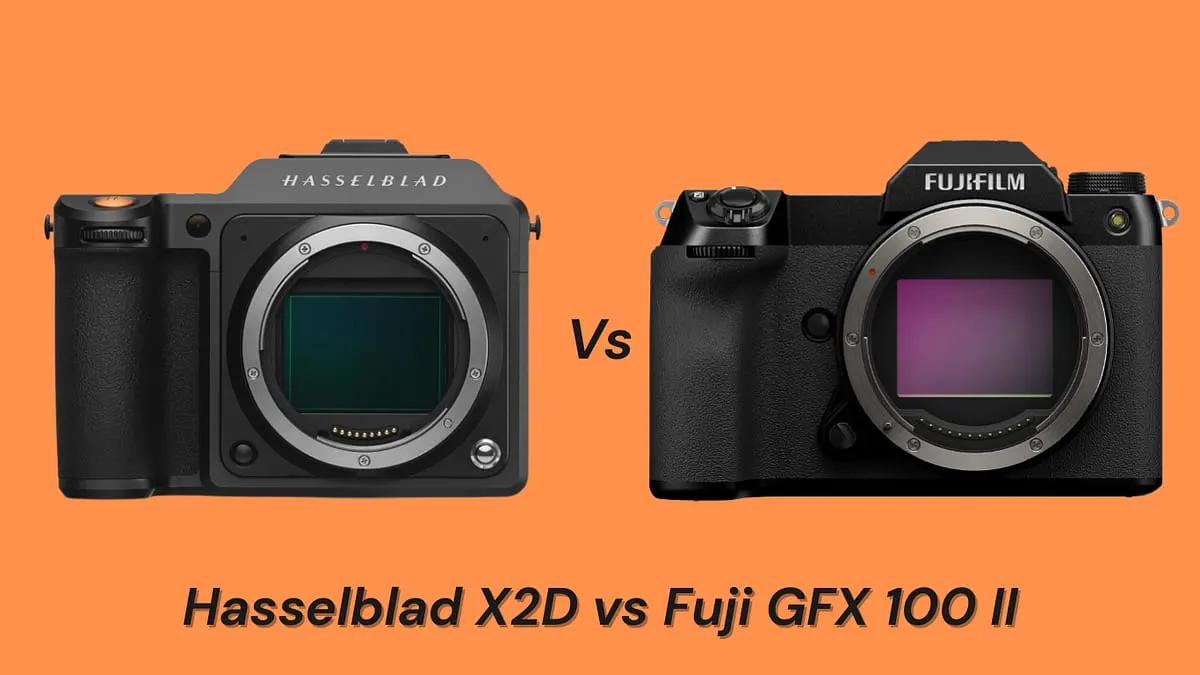
Hasselblad X2D vs Fuji GFX 100 II: Specs, Autofocus & Lens Pairing
Compare the 100MP medium-format Hasselblad X2D 100C vs Fujifilm GFX 100 II across 16-bit color depth, autofocus tracking, IBIS, and studio vs hybrid workflows.
Best Camera for Table Tennis: Specs, Autofocus & Lens Pairing
The top pick is the Sony ZV-1. It also lists other strong contenders based on need and budget, including the Sony RX100 VII, Sony a6400, Fujifilm X-S10.