Best Astrophotography Cameras: Specs, Autofocus & Lens Pairing
As an Amazon Associate we earn from qualifying purchases. Some links in this guide are affiliate links, see our affiliate disclosure for details.
Photo by Friansa rangga on Unsplash
Best Options for astrophotography
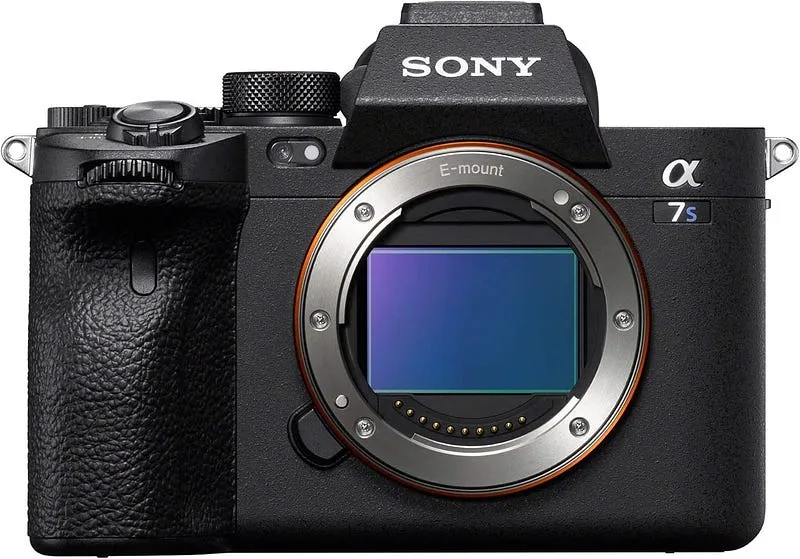
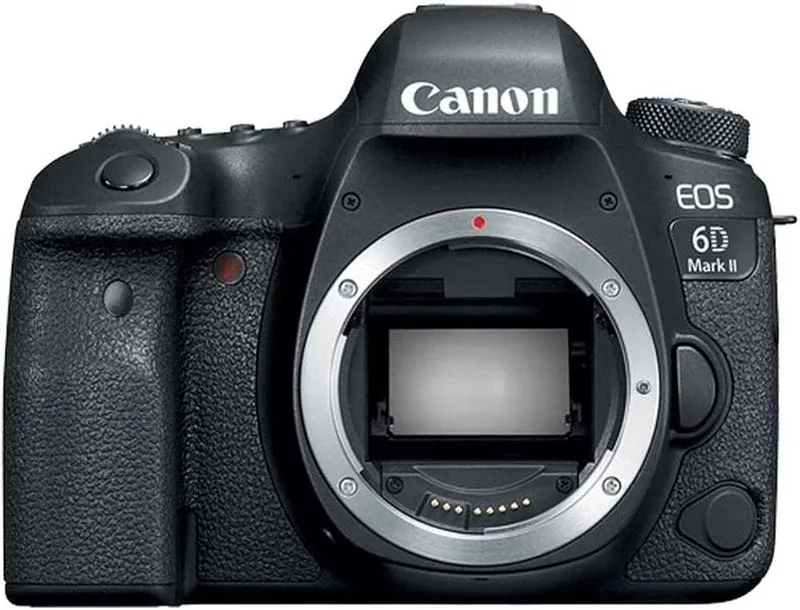
Key options include dedicated astronomy cameras and also names the Sony a7S III and the Canon EOS 6D Mark II for night-sky shooting. It advises learning the basics first rather than chasing gear.
Astrophotography. The very word conjures images of swirling galaxies, vibrant nebulas, and the vast, awe-inspiring beauty of the night sky.
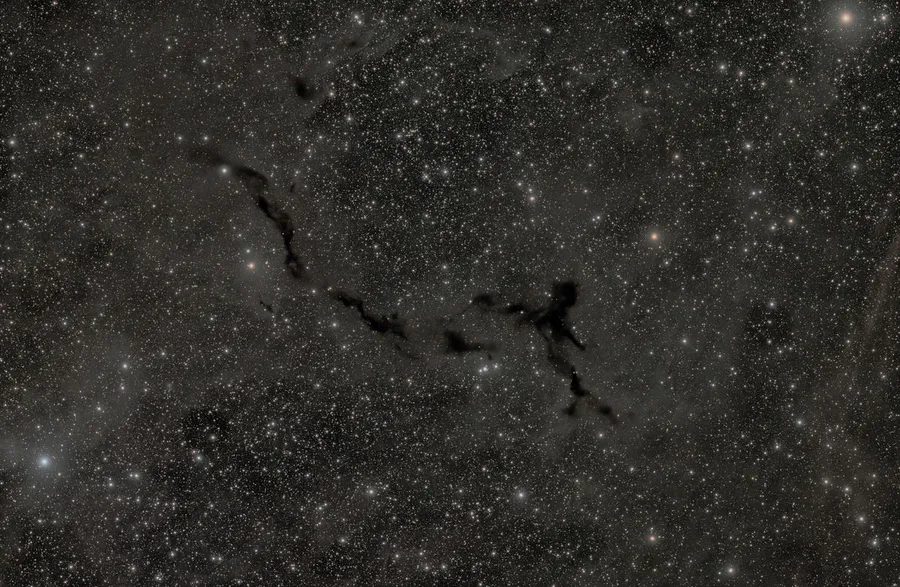
Photo by Steve Gribble on Unsplash
A point-and-shoot camera, a shaky tripod, and a whole lot of trial and error.
The camera, in particular, is crucial. It’s the eye that captures the faint light from distant stars and galaxies.
1. Dedicated Astronomy Cameras:
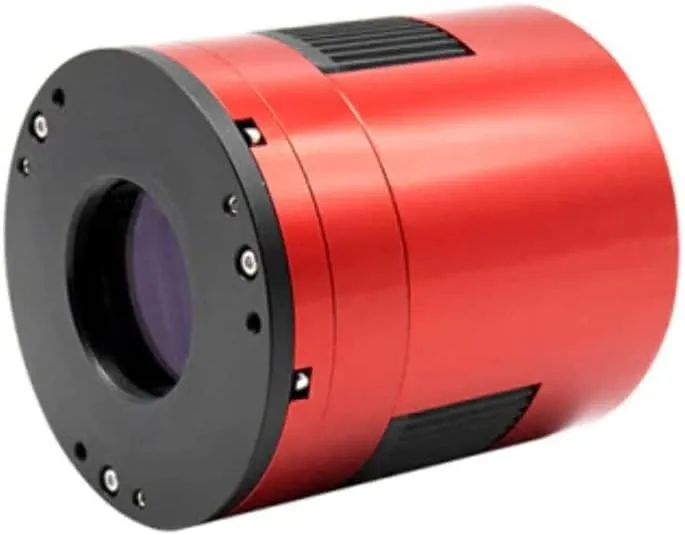
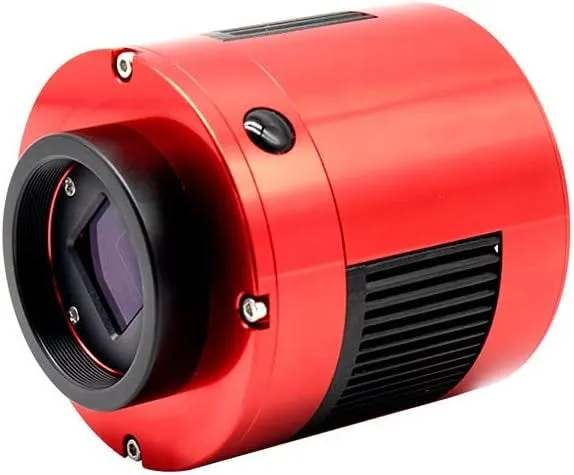
These are specialized cameras designed specifically for astrophotography. They often feature cooled sensors to reduce noise, high bit depths for capturing subtle details, and monochrome options for advanced imaging techniques.
- ZWO ASI2600MM Pro: This is a fantastic monochrome camera with a large APS-C sensor. Its low noise and high sensitivity make it ideal for capturing faint deep-sky objects.
- ZWO ASI533MC Pro: If you prefer color imaging, this camera is a great choice. It has a square sensor that’s well-suited for a variety of celestial targets.
It was a game-changer.
2. Mirrorless and DSLR Cameras:
While dedicated astronomy cameras offer the best performance, many mirrorless and DSLR cameras are also capable of producing stunning astrophotography images.
- Sony a7S III: This mirrorless camera is renowned for its exceptional low-light performance, making it a great choice for capturing faint objects.
- Canon EOS 6D Mark II: This DSLR is a popular choice among astrophotographers due to its full-frame sensor and relatively low noise.
It’s a great way to get into astrophotography without breaking the bank.
3. Choosing the Right Camera for You:
The best camera for you will depend on your budget, experience level, and specific astrophotography goals. If you’re just starting out, a used DSLR or a budget-friendly mirrorless camera can be a great option. As you gain more experience and want to capture more challenging targets, you may want to consider investing in a dedicated astronomy camera.
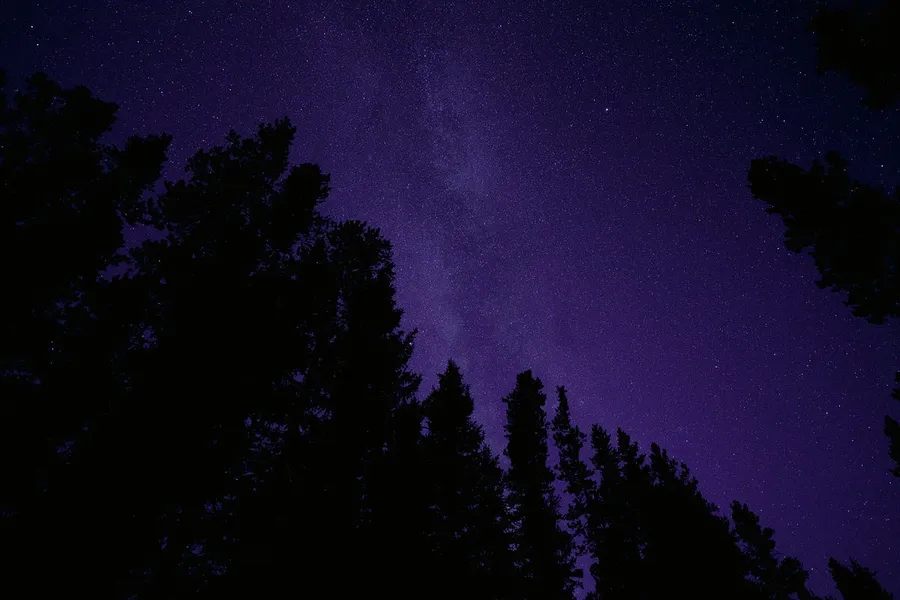
Photo by Joshua Woroniecki on Unsplash
The most important thing is to get out there and start shooting. Learn the basics of astrophotography, experiment with different settings, and most importantly, have fun!
Astrophotography is a journey of continuous learning and discovery. It’s about more than just taking pretty pictures; it’s about connecting with the universe on a deeper level.
Compare with How to Choose a Lens for Astrophotography and Night Sky Photos and Best Camera for Lifestyle Photography, or check the adapter & mount chart.
Camera & Lens Settings by Real-World Use Case
Match your focal length, aperture, shutter speed, and lighting modifier to the exact environment you shoot in.
Astrophotography, Milky Way, Moon & Northern Lights
- Best Body:
- Sony a7 IV / Sony a7 III / Nikon Z6 II & III
- Ideal Lens:
- Sony 20mm f/1.8 G or Viltrox 16mm f/1.8 (Milky Way) / 200–600mm (Moon)
- Aperture & Shutter:
- f/1.4 – f/2.0 (Milky Way); f/8 (Moon craters, which are lit by direct sunlight) · 15s – 20s (Milky Way); 1s – 4s (Aurora Borealis); 1/250s (Moon)
- Room Distance:
- Manual focus locked precisely on a bright star at 10x screen magnification
Tattoo Artists & Micro-Realism Portfolios
- Best Body:
- Sony Alpha a7 III / Fujifilm X-T4
- Ideal Lens:
- 90mm f/2.8 Macro (detail) or 50mm f/1.8 (sleeves & back pieces)
- Aperture & Shutter:
- f/5.6 – f/8 (keeps curved forearms and calves sharp edge-to-edge) · 1/125s – 1/200s handheld (or 1/60s on tripod)
- Room Distance:
- 0.4m – 1.5m (1.5 to 5 ft)
Barbershops, Hairstylists & Color Salons
- Best Body:
- Sony a7 IV / Canon EOS R6 Mark II
- Ideal Lens:
- 50mm f/1.8 (tight stations) or 85mm f/1.8 (spacious salons)
- Aperture & Shutter:
- f/1.8 – f/2.8 (blurs background chairs while keeping the lineup tack-sharp) · 1/160s – 1/250s (freezes subtle head movement in the chair)
- Room Distance:
- 1.5m – 2.4m (5 to 8 ft from the styling chair)
Written by
Marien CartelMarien Cartel runs Marien Cartel Photography, a camera and lens buying-guide site, and photographs the gear shown on it.
Related Guides
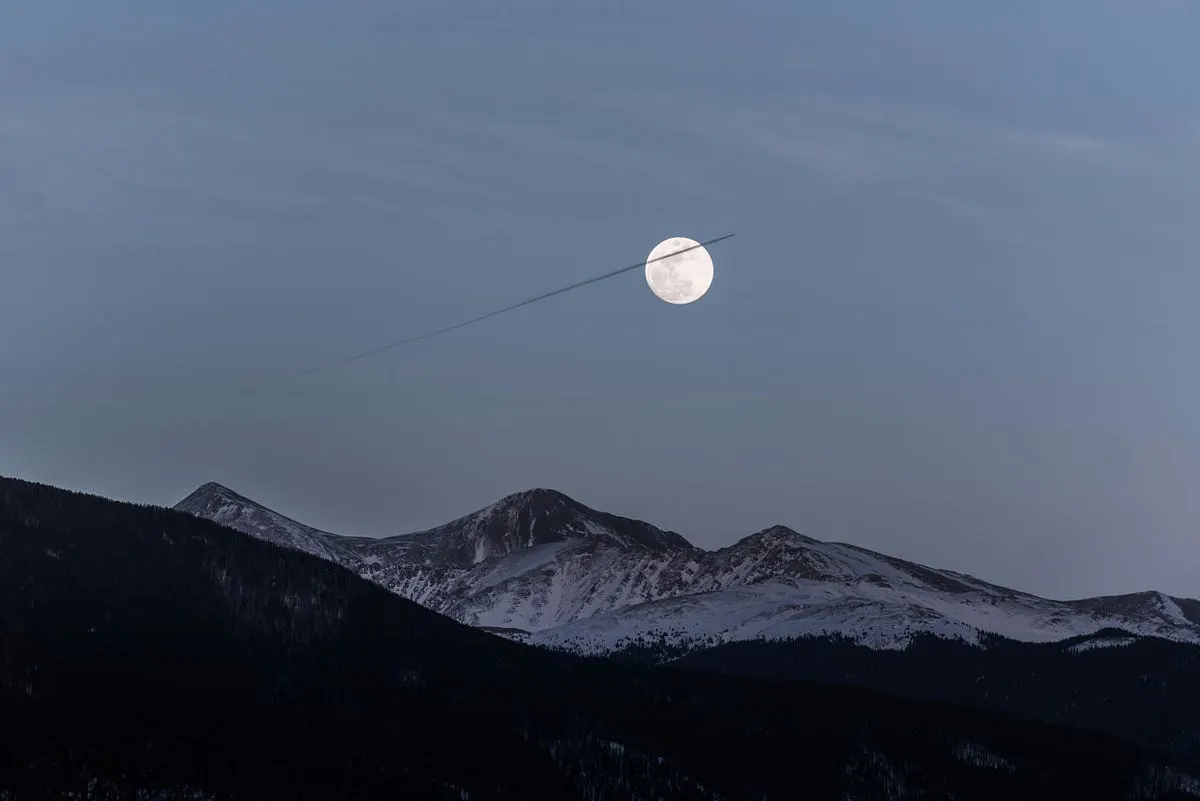
Best Camera for Moon Photography: Specs, Autofocus & Lens Pairing
Best Camera for Moon Photography: Canon EOS R5, Nikon P1000 and Sony Alpha a7R IV compared on features, price and who each one suits.
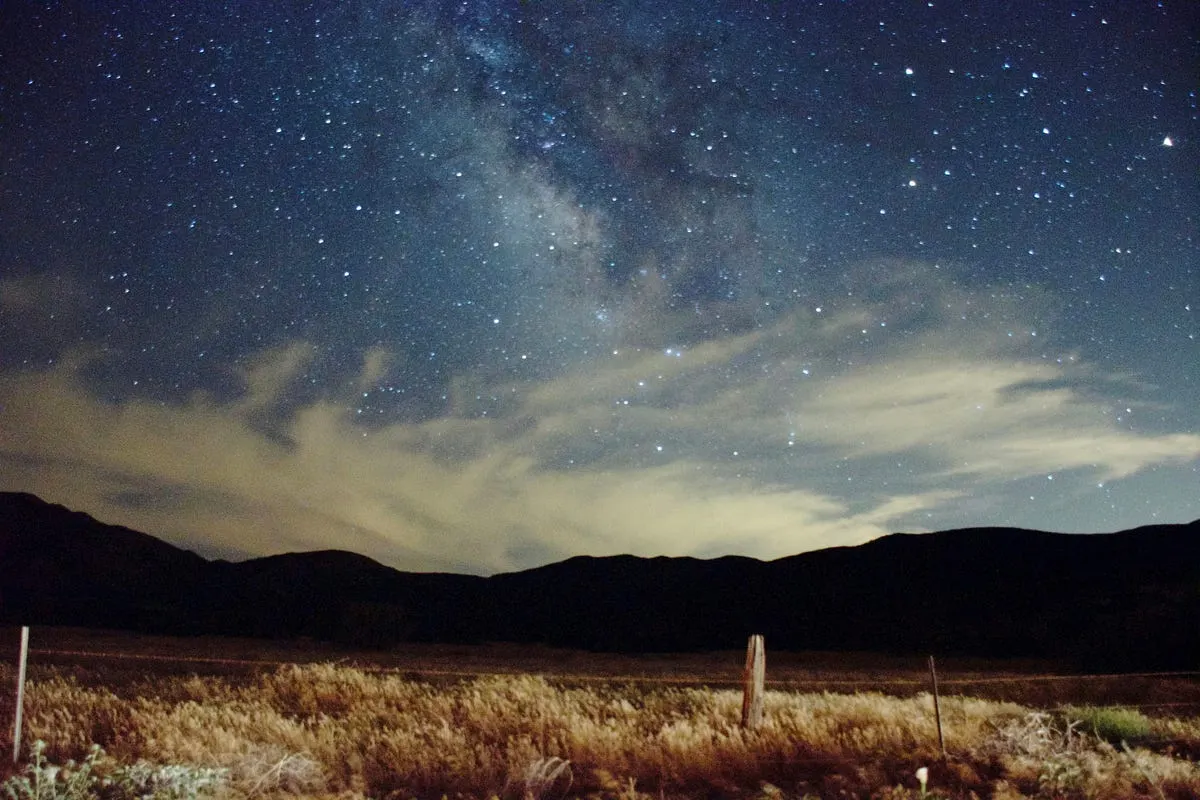
Best Camera for Night Video: Specs, Autofocus & Lens Pairing
Best Camera for Night Video — Canon EOS R6 Mark II, Sony A7S III and Panasonic Lumix GH5S compared, with pros, cons and who should buy which.
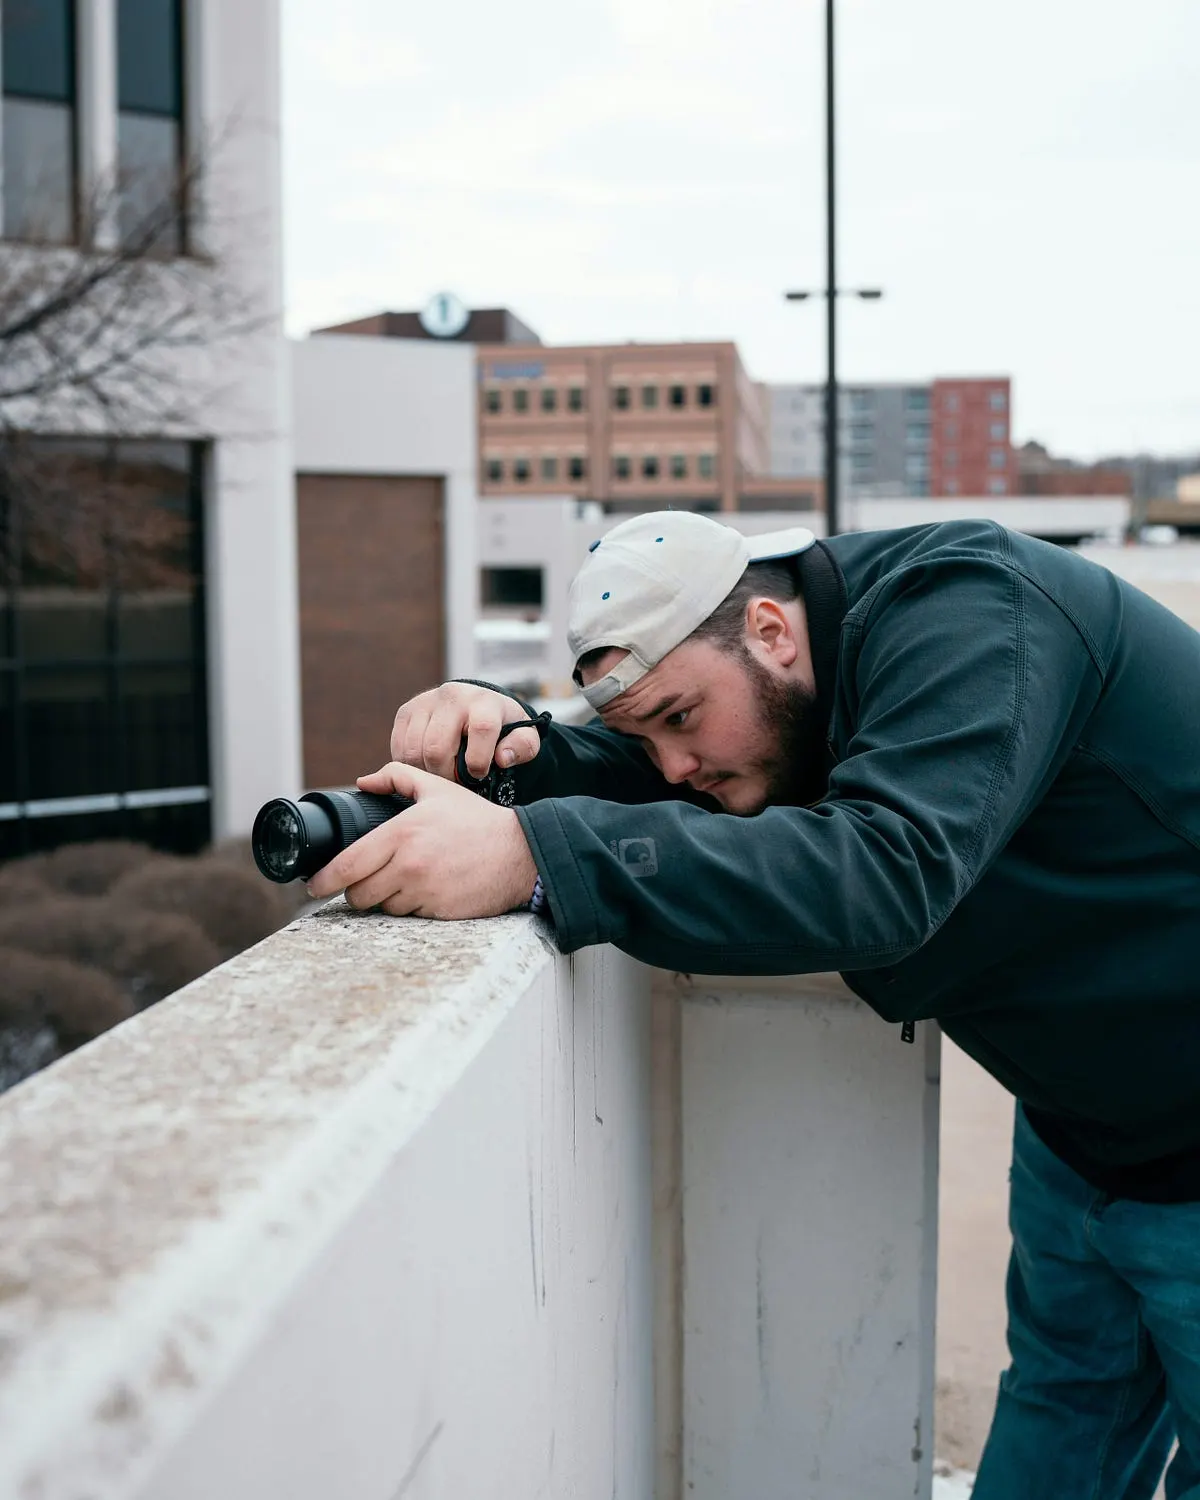
Best Compact Camera for Low Light: Specs, Autofocus & Lens Pairing
Best Compact Camera for Low Light — Sony RX100 VA/ and Panasonic Lumix LX100 II compared, with pros, cons and who should buy which.
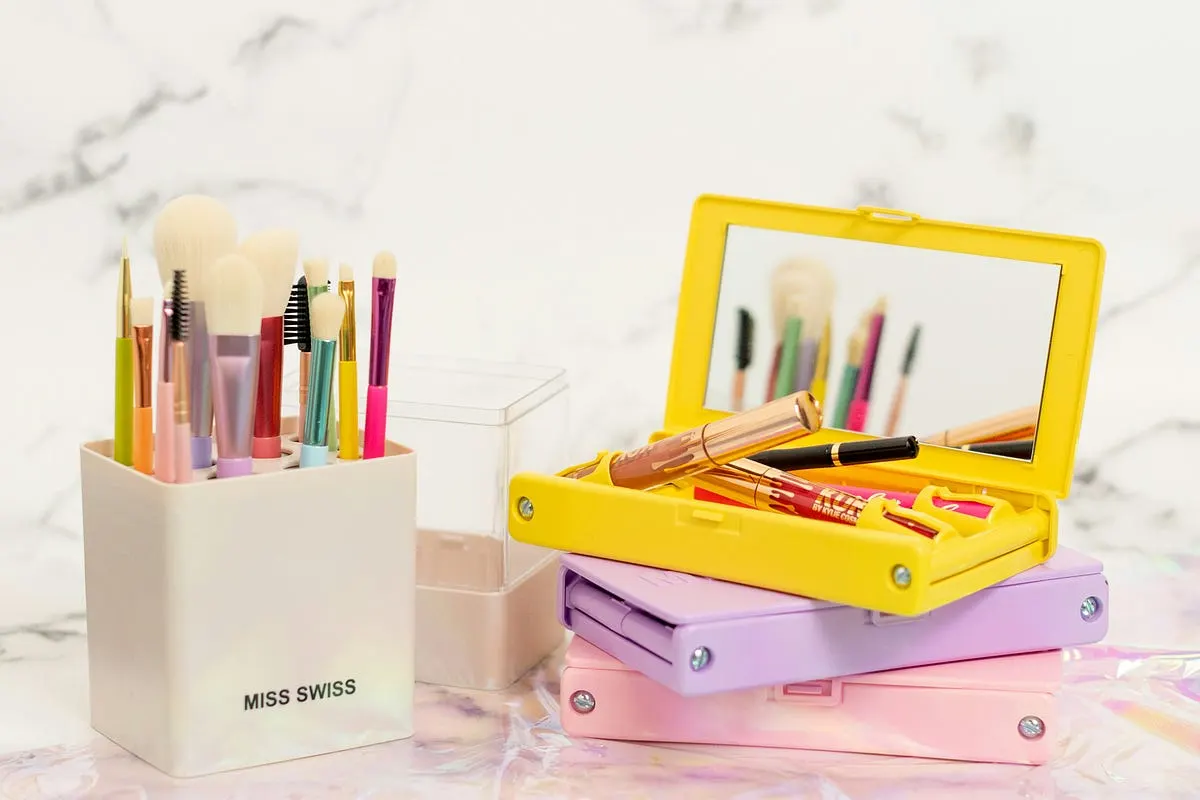
Best Camera for Product Photography: Specs, Autofocus & Lens Pairing
Best Camera for Product Photography: Canon EOS Rebel SL3/250D, Sony Alpha a6100 and Fujifilm X-S10 compared on features, price and who each one suits.
Best Camera for Concert Photography: Specs, Autofocus & Lens Pairing
Best Camera for Concert Photography — Canon EOS R6 Mark II, Sony a7R V and Nikon Z8 compared, with pros, cons and who should buy which.
Best Full Frame DSLR: Specs, Autofocus & Lens Pairing
Compare the best full-frame DSLR cameras led by the 45.7MP Nikon D850 and Canon EOS 5D Mark IV, plus how they stack up against modern mirrorless bodies.