How to Make a Time-Lapse Video: The Complete Guide (2026)
As an Amazon Associate we earn from qualifying purchases. Some links in this guide are affiliate links — see our affiliate disclosure for details.
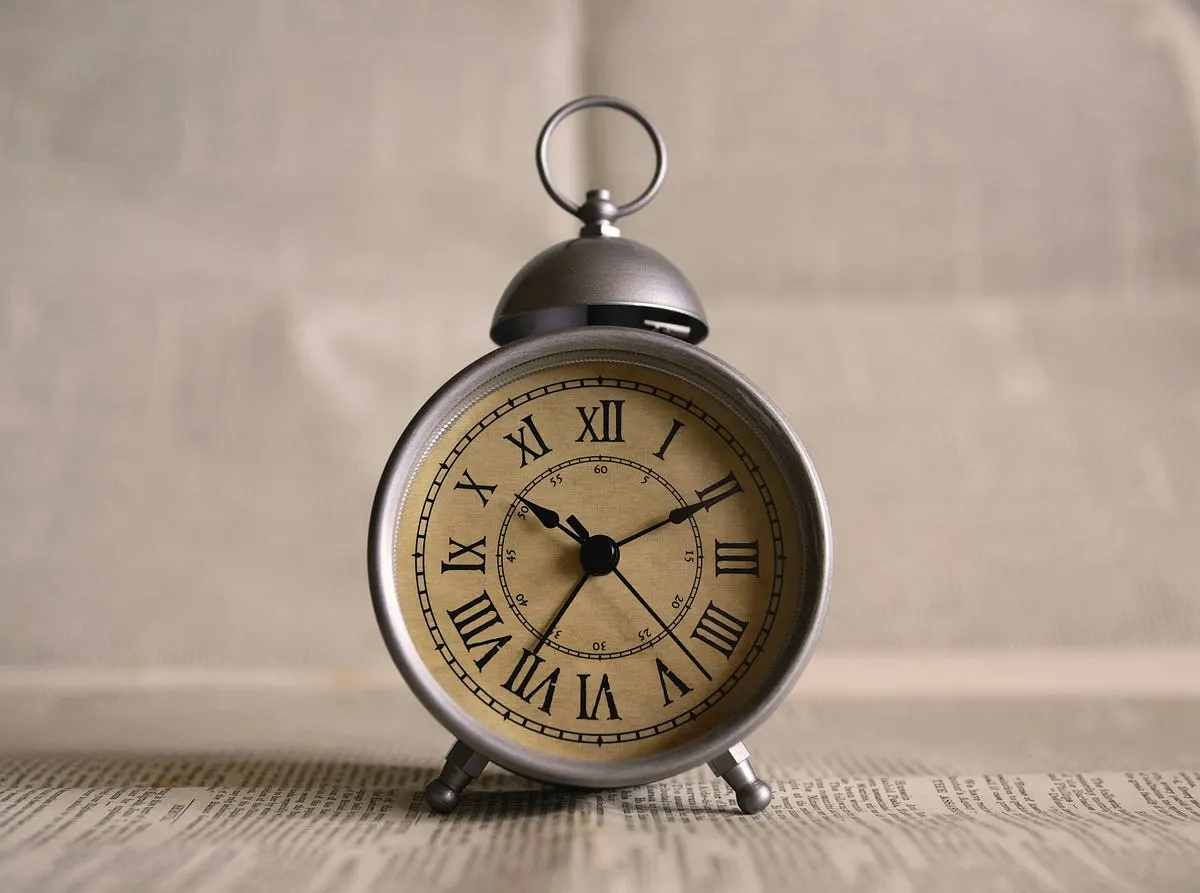
Photo by Ales Krivec on Unsplash
Time-lapse photography compresses hours, days, or even months into a few captivating seconds. From a flower blooming to clouds rolling over a city skyline, time-lapse gives viewers a perspective they can’t get any other way. In this guide, I’ll walk you through everything I’ve learned making time-lapse videos — including a few mistakes so you don’t have to repeat them.
Last summer, I documented the construction of a new park near my home. I set up my camera on a tripod, pointed it at the site, and programmed it to take a photo every 15 minutes — day and night — for three straight days. The result was a 4,300-photo sequence compressed into 45 seconds of footage. Here’s exactly how I did it, and how you can too.
Step-by-Step Guide
1. Planning and Preparation
Choose your subject. Growing plants, city traffic, construction, sunsets, star trails — pick something with visible change over time.
Gather your equipment:
- A camera (DSLR, mirrorless, or a modern smartphone — most phones now have a built-in time-lapse mode)
- A sturdy tripod (non-negotiable — even small vibrations show up badly)
- An intervalometer or remote shutter release, if your camera doesn’t have built-in interval shooting
- An ND (neutral density) filter for daytime shoots — this lets you use slower shutter speeds without overexposing, which gives smoother motion blur in things like clouds and water
- xtra batteries and a large memory card — time-lapses eat through both fast
Decide your interval based on your subject (see the interval guide below — this is the part most beginners get wrong).
2. Choosing the Right Interval
This is the single most important setting, and it depends entirely on your subject. For clouds and sunsets, aim for a 2–5 second interval. For city traffic or people moving through a scene, go faster — 1–2 seconds. Construction sites or plant growth need much longer gaps, typically 1–15 minutes between shots. Star trails and night sky sequences work best at 15–30 seconds. And for slow architectural change that unfolds over several days, stretch the interval out to 15–60 minutes.
A good rule of thumb for star time-lapses is the “500 Rule”: divide 500 by your lens’s focal length to get your max exposure time in seconds before stars start to trail (e.g., 500 ÷ 20mm = 25 seconds).
3. Setting Up the Camera
- Mount securely on the tripod — check every screw and leg lock.
- Switch to Manual mode. This is critical: if you leave your camera on auto exposure or auto white balance, brightness will “flicker” frame to frame as lighting shifts slightly. Lock your exposure, white balance, and focus manually.
- Frame your shot with the full arc of change in mind — if the sun will move across the frame, leave room for it.
- Turn off image stabilization when the camera is on a tripod; it can actually introduce micro-shifts.
- Use interval shooting mode (built into most modern cameras and phones) or attach an intervalometer.
4. Recording the Footage
- Start the sequence and don’t touch the camera again until it’s done.
- Check battery and storage before you start — a 6-hour time-lapse at 10-second intervals is over 2,000 shots.
- Be patient. Long time-lapses can run for hours or days. Some photographers leave weatherproof setups running for weeks to capture things like construction projects or seasonal change.
5. Editing and Post-Production
Import your photos into your computer, organized in a single folder.
Deflicker your sequence. This is the step most tutorials skip, and it’s the biggest quality jump you can make. LRTimelapse is the industry-standard tool for removing exposure flicker between frames, and it pairs well with Lightroom.
Assemble the sequence in editing software:
- Adobe Premiere Pro or After Effects (industry standard)
- DaVinci Resolve (powerful and free)
- Final Cut Pro (Mac)
- On mobile: apps like LapseIt or Framelapse can shoot and edit time-lapses directly on your phone
Adjust playback speed, add transitions, and consider frame interpolation tools if your sequence looks choppy at higher speeds.
Add music or sound design to give the footage pacing and emotion.
Export in at least 1080p, ideally 4K if your source photos support it.
6. Day vs. Night Time-Lapses
These require different approaches:
Daytime:
- Use an ND filter to allow slightly longer exposures without blowing out highlights
- Watch for changing light — early morning to midday shifts fast, so shorter intervals help
- Lock white balance manually to avoid color shifts between frames
Nighttime:
- Use a wide aperture (f/2.8 or wider) and higher ISO to capture enough light
- Apply the 500 Rule to avoid star trailing (unless trails are the effect you want)
- Consider an external battery pack — cold nights drain batteries fast
- A red flashlight helps you check settings without ruining your night vision
7. Common Mistakes to Avoid
- Leaving the camera on auto exposure → causes visible flickering
- Choosing too long or too short an interval for your subject → footage feels either jumpy or too smooth
- Running out of storage or battery mid-shoot → always calculate total shot count beforehand (duration ÷ interval = number of shots)
- Skipping the tripod → handheld time-lapses are almost unwatchable
- Forgetting to deflicker → this is the difference between amateur and professional-looking results
8. Tips for Creating Stunning Time-Lapse Videos
- Stabilize everything — tripod, camera, even the ground it’s standing on.
- Watch your lighting across the full shoot duration, not just at the start.
- Experiment with intervals on smaller test shoots before committing to a multi-hour sequence.
- Add music thoughtfully — let the pacing of the edit match the energy of the track.
- Share your work — time-lapses perform especially well on Instagram Reels, YouTube Shorts, and TikTok.

Written by
Marien CartelProfessional and Certified Digital Photographer born in the USA, with 22 years of experience in the field of photography.
Related Guides
Nikon Z8 Review
A Professional Photographer’s Comprehensive Review — my picks are the Nikon Z8, Canon EOS R5 and Sony a1, with the honest trade-offs of each.
Nikon Zf vs Fujifilm X100VI
The Tactile Dilemma: Why the Fujifilm X100VI and Nikon Zf Forced Me to Rethink Everything
Ricoh GR III vs Fujifilm X100VI
The Camera I Almost Didn’t Buy, and the One I Almost Returned: the Fujifilm X100VI and Ricoh GR III side by side, and the one I would pick myself.