What is the rule of thirds in photography

As an Amazon Associate we earn from qualifying purchases. Some links in this guide are affiliate links, see our affiliate disclosure for details.
Photo by Federico Di Dio photography on Unsplash
What is the rule of thirds in photography?
The Rule of Thirds is a composition guideline that divides the frame into a three-by-three grid. Placing your subject along the lines or where they cross makes images more balanced and appealing.
The Rule of Thirds is a fundamental guideline in photography that helps you compose visually appealing images. It’s a simple concept, yet incredibly powerful in enhancing the impact of your photographs.
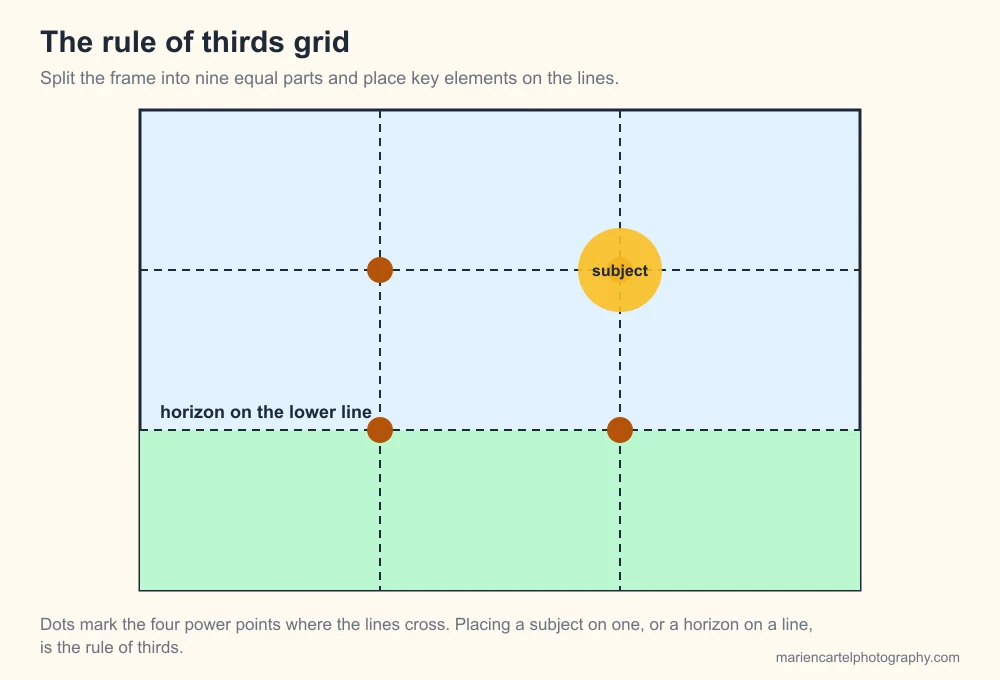
The rule of thirds grid and its four power points. Original diagram for this site.
What is the Rule of Thirds?
Imagine dividing your image into nine equal parts with two horizontal and two vertical lines. The Rule of Thirds suggests placing your subject or key points of interest along these lines or at their intersections. This technique creates a more balanced and dynamic composition, drawing the viewer’s eye to the focal point.
Why Does it Work?
- Visual Interest: By placing your subject off-center, you create a sense of tension and intrigue, making the image more visually appealing.
- Natural Eye Movement: Our eyes are naturally drawn to the intersections of the lines, so placing your subject there can guide the viewer’s gaze.
- Balance and Harmony: The Rule of Thirds helps to balance the composition, preventing it from feeling static or cluttered.
How to Apply the Rule of Thirds:
- Activate Your Camera’s Grid: Most modern cameras have a grid overlay option that can be turned on in the settings. This grid will divide your viewfinder or LCD screen into nine equal parts, making it easier to apply the Rule of Thirds.
- Identify Your Subject: Determine the main subject of your photo. This could be a person, an object, or a specific point of interest.
- Position Your Subject: Place your subject along one of the lines or at one of the intersections. Experiment with different placements to see what works best.
- Consider the Background: Pay attention to the background and how it interacts with your subject. A strong background can enhance your composition.
- Break the Rules: While the Rule of Thirds is a valuable tool, it’s not a strict rule. Sometimes, breaking the rules can lead to creative and impactful images.
Additional Tips:
- Leading Lines: Use leading lines to draw the viewer’s eye towards your subject. These lines can be natural elements like roads, rivers, or fences.
- Framing: Use natural frames like doorways, arches, or tree branches to frame your subject and create a more visually interesting composition.
- Negative Space: The empty space around your subject can be just as important as the subject itself. Use negative space to create a sense of balance and minimalism.
By understanding and applying the Rule of Thirds, you can elevate your photography and create more compelling images. Remember, practice is key, so keep experimenting and have fun!
Additional comparisons: What Is the 20-60-20 Rule in Photography? Composition, Lighting & Workflow Guide, What do you value most in your travel photography, and our 25+ shooting setups.
Camera & Lens Settings by Real-World Use Case
Match your focal length, aperture, shutter speed, and lighting modifier to the exact environment you shoot in.
Tattoo Artists & Micro-Realism Portfolios
- Best Body:
- Sony Alpha a7 III / Fujifilm X-T4
- Ideal Lens:
- 90mm f/2.8 Macro (detail) or 50mm f/1.8 (sleeves & back pieces)
- Aperture & Shutter:
- f/5.6 – f/8 (keeps curved forearms and calves sharp edge-to-edge) · 1/125s – 1/200s handheld (or 1/60s on tripod)
- Room Distance:
- 0.4m – 1.5m (1.5 to 5 ft)
Barbershops, Hairstylists & Color Salons
- Best Body:
- Sony a7 IV / Canon EOS R6 Mark II
- Ideal Lens:
- 50mm f/1.8 (tight stations) or 85mm f/1.8 (spacious salons)
- Aperture & Shutter:
- f/1.8 – f/2.8 (blurs background chairs while keeping the lineup tack-sharp) · 1/160s – 1/250s (freezes subtle head movement in the chair)
- Room Distance:
- 1.5m – 2.4m (5 to 8 ft from the styling chair)
Makeup Artists (MUA) & Beauty Tutorials
- Best Body:
- Sony Alpha a6400 / Canon G7 X Mark III
- Ideal Lens:
- Sigma 56mm f/1.4 DC DN (APS-C) or 50mm–85mm f/1.8 (Full Frame)
- Aperture & Shutter:
- f/2.8 – f/4 for full-face sharpness; f/5.6 for macro eye/lip close-ups · 1/125s for stills; 1/50s (24p) or 1/120s (60p) for video tutorials
- Room Distance:
- 1.2m – 2.2m (4 to 7 ft)

Written by
Marien CartelMarien Cartel runs Marien Cartel Photography, a camera and lens buying-guide site, and photographs the gear shown on it.
Related Guides
What Is the 20-60-20 Rule in Photography? Composition, Lighting & Workflow Guide
Learn the three ways photographers use the 20-60-20 rule: visual weight composition (20% foreground, 60% subject, 20% background), lighting ratios, and workflow.
How to Choose a Lens for Astrophotography and Night Sky Photos
Choosing an astrophotography lens means balancing focal length, a fast aperture and corner sharpness. Here's how to weigh each one for night sky shots.
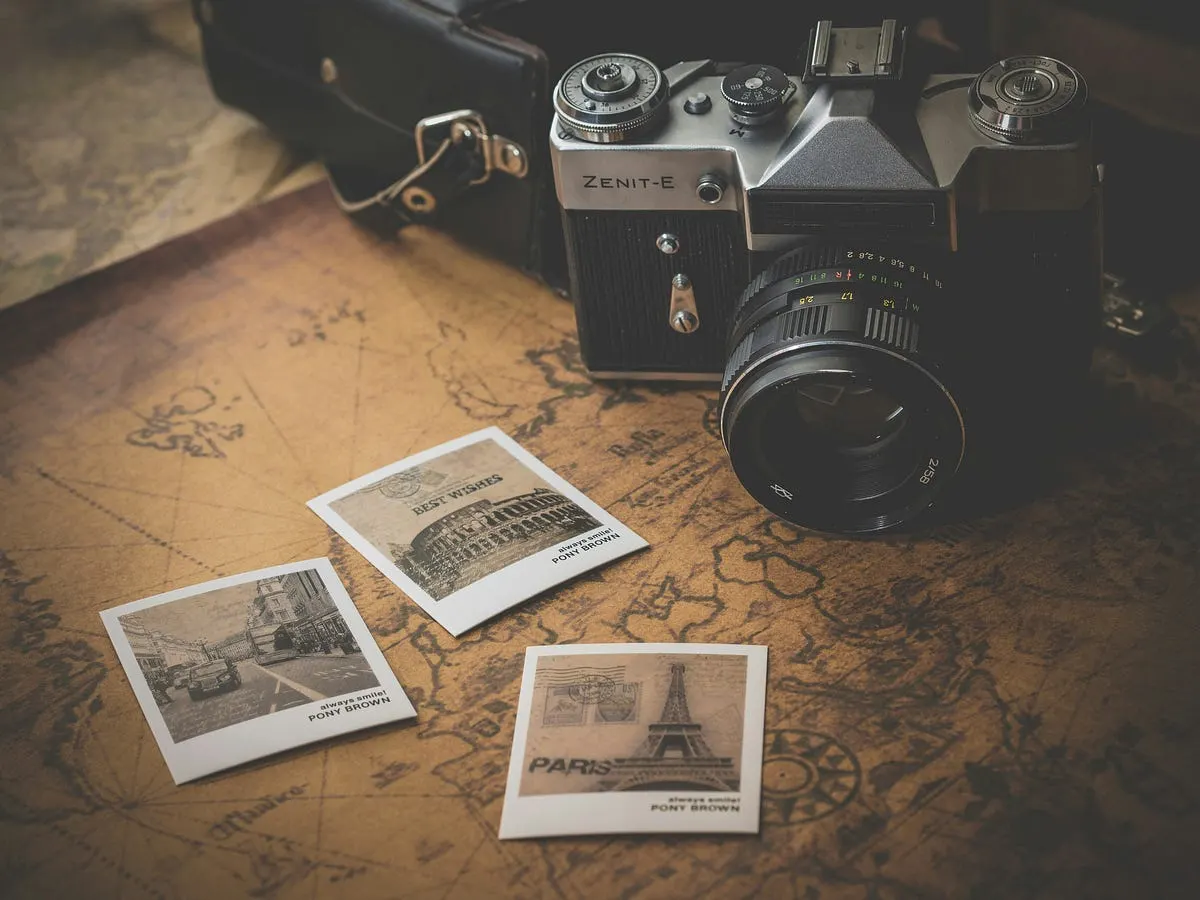
Best Ways to Make Money From Photography
Photography is not just a hobby; it can be a lucrative career path. Here are some of the most effective ways to monetize your photography…
What Is a Lens Mount? Canon RF vs EF, Sony E, Nikon Z and Fujifilm X
A lens mount is the bayonet that locks lens to camera — and it decides which lenses you can buy. RF, EF, E, Z and X explained, plus adapter compatibility.
Why Are My Photos Blurry? How to Diagnose It From the Photo
Four different causes produce four different kinds of blur. Work out which one you have by looking at the picture, then fix that one — not all of them.
Aperture, Shutter Speed and ISO: The Exposure Triangle, Properly Explained
The triangle is taught as three equal controls. It isn't — each one has a side effect, and the side effect matters more than the brightness. Here's how.