How to overcome fear in street photography
As an Amazon Associate we earn from qualifying purchases. Some links in this guide are affiliate links, see our affiliate disclosure for details.
How do you overcome fear in street photography?
the key is to take action: step out of your comfort zone, accept the uncertainty and keep shooting. It starts from the author's first disastrous attempt and the fear of approaching strangers.
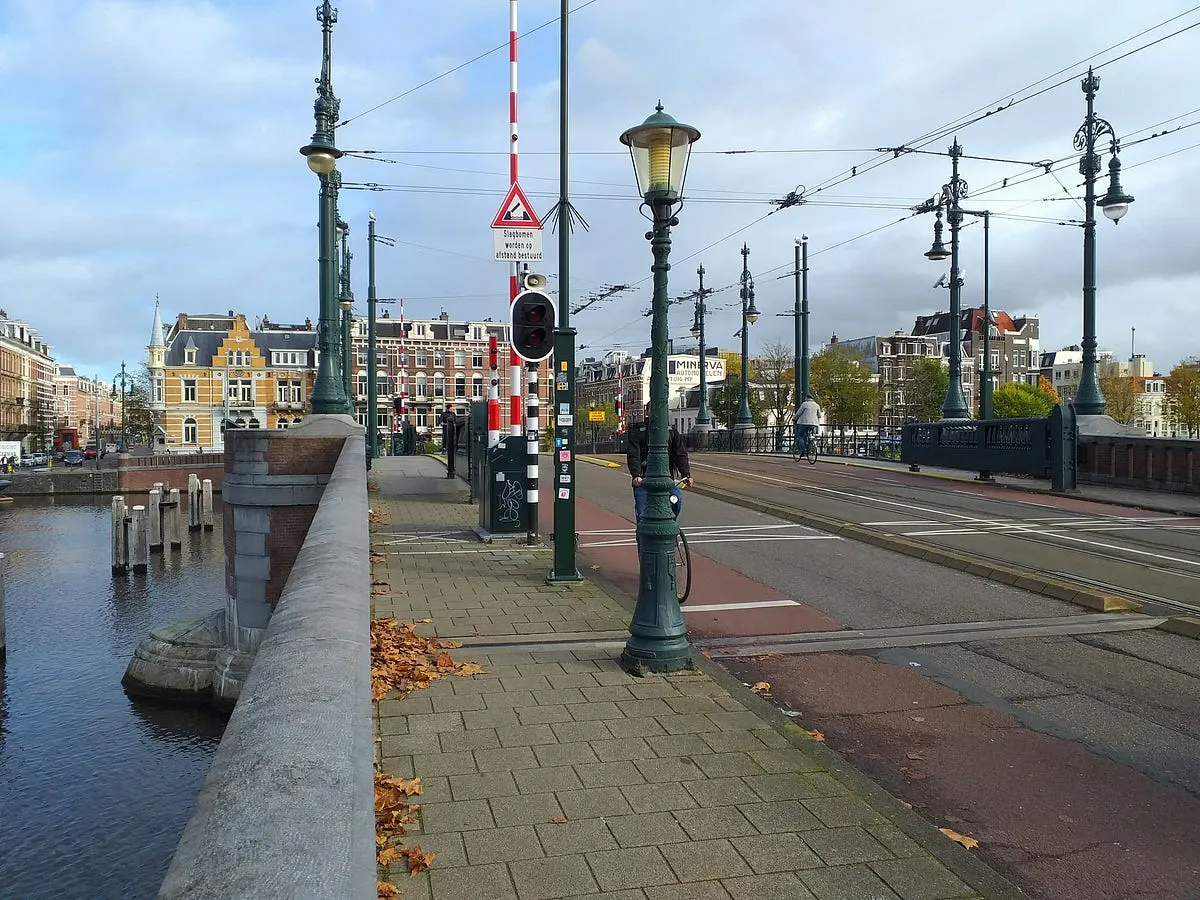
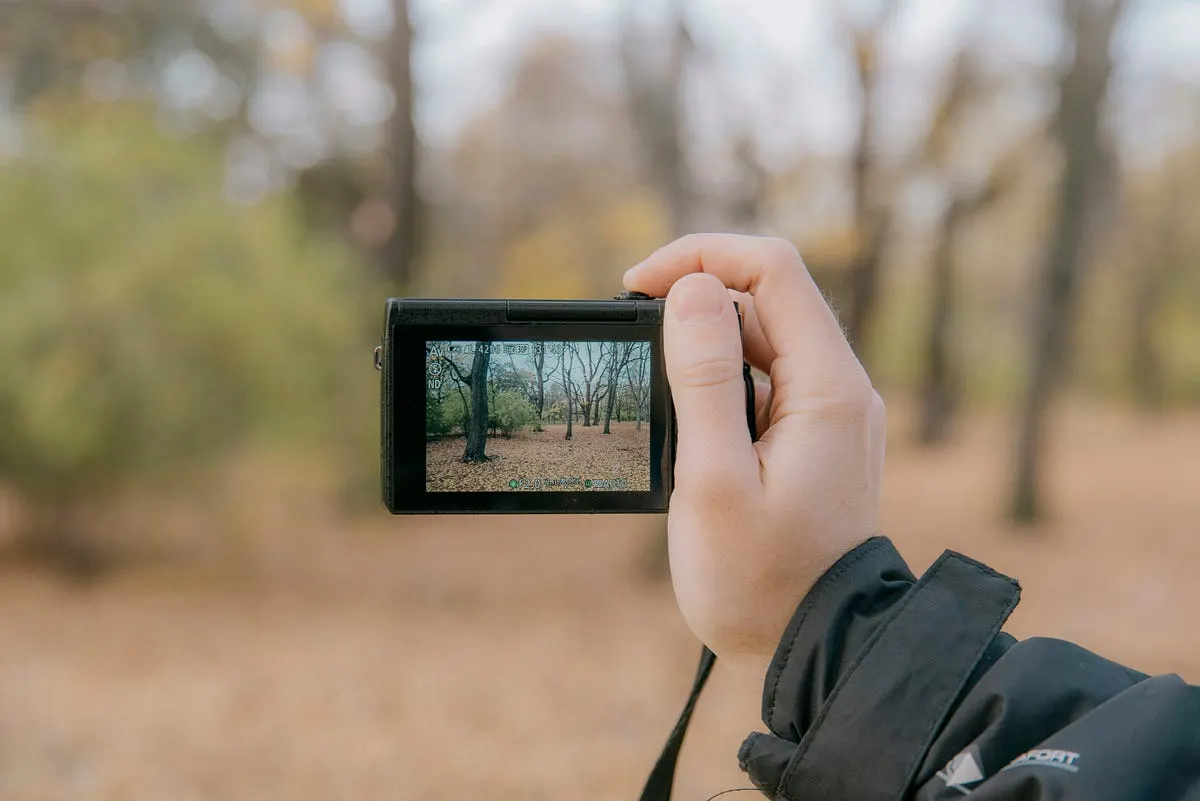
Photo by Fons Heijnsbroek on Unsplash
Start Small
- Begin by practicing in less crowded areas or familiar surroundings. This will help you build confidence without feeling overwhelmed.
- Focus on capturing candid moments of people in public spaces, like parks or markets, where they are less likely to notice you.
Blend In
- Dress inconspicuously and avoid drawing attention to yourself. A less noticeable camera can also help you blend in with the crowd.
- Use a prime lens with a fixed focal length, as it can be less intimidating than a bulky zoom lens.
Build Rapport
- If you feel comfortable, strike up a conversation with your subject before taking their photo. This can help alleviate any anxiety they may have and create a more authentic connection.
- A simple smile or friendly gesture can go a long way in breaking the ice.
Respectful Photography
- Always be mindful of your surroundings and respect people’s privacy. Avoid taking photos of people in sensitive situations or without their consent.
- If someone asks you not to take their photo, politely comply.
Embrace Imperfection
- Don’t strive for perfection. Street photography is about capturing fleeting moments, and mistakes are inevitable.
- Learn from your experiences and use them to improve your skills.
Join a Community
- Connect with other street photographers through online forums or local groups. Sharing experiences and feedback can be invaluable in overcoming fear and building confidence.
- Participating in photo walks and critiques can also help you learn from others and gain inspiration.
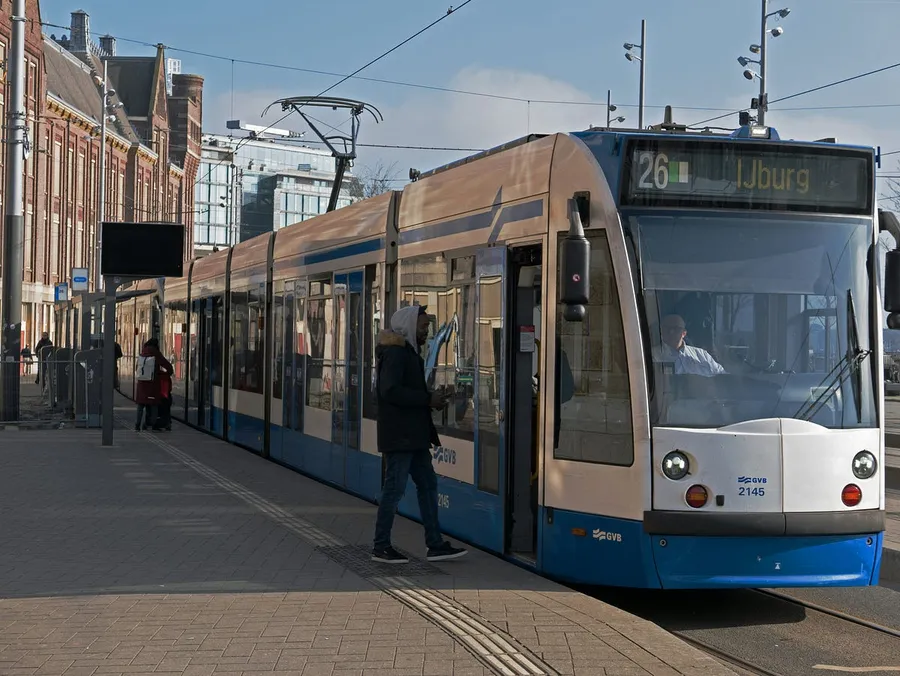
Photo by Fons Heijnsbroek on Unsplash
The Rewards of Street Photography
Overcoming the fear of street photography is a rewarding experience. It allows you to connect with people from all walks of life, capture the essence of human emotion, and document the world around you.
Remember, the key to overcoming fear is to take action. Step out of your comfort zone, embrace the uncertainty, and let your passion for photography guide you. With practice and perseverance, you can transform your fear into excitement and create stunning images that reflect the beauty and diversity of everyday life.
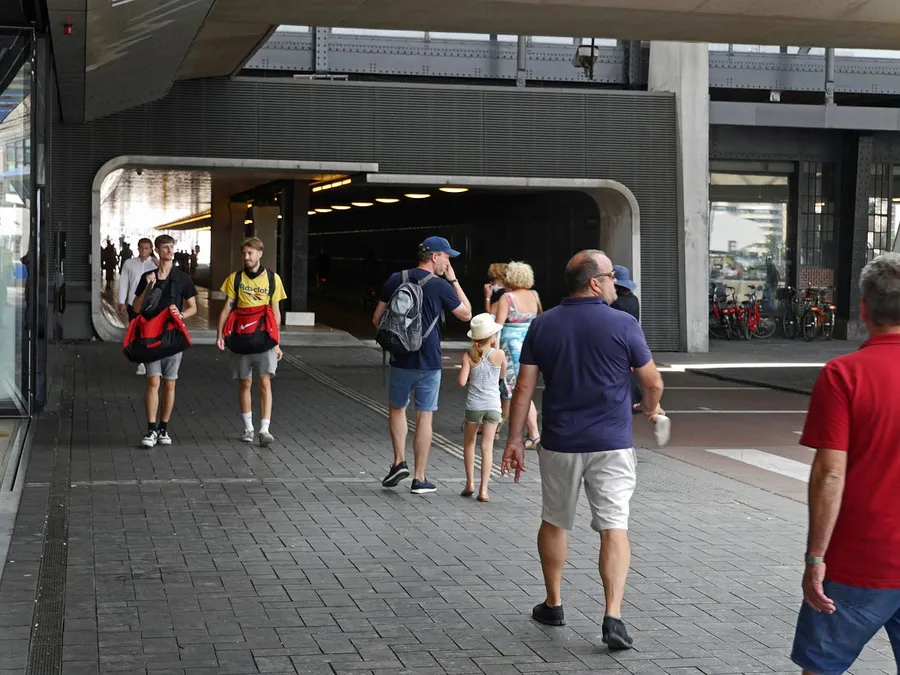
Photo by Fons Heijnsbroek on Unsplash
Continue reading: How to avoid legal trouble with street photography, How to find inspiration for street photography, or use the room distance simulator.
Camera & Lens Settings by Real-World Use Case
Match your focal length, aperture, shutter speed, and lighting modifier to the exact environment you shoot in.
Street Photography, Japan/Europe Trips & Backpacking
- Best Body:
- Fujifilm X100VI / Ricoh GR III / Fujifilm X-T30 II / Sony a6700
- Ideal Lens:
- 23mm f/2 or 27mm f/2.8 Pancake (APS-C) — 35mm to 40mm equivalent
- Aperture & Shutter:
- f/2.0 (neon night street) or f/5.6 – f/8 (sunny zone-focusing from 2m to infinity) · 1/250s – 1/500s (freezes pedestrians mid-stride)
- Room Distance:
- 1.5m – 5m (candid street distance)
Tattoo Artists & Micro-Realism Portfolios
- Best Body:
- Sony Alpha a7 III / Fujifilm X-T4
- Ideal Lens:
- 90mm f/2.8 Macro (detail) or 50mm f/1.8 (sleeves & back pieces)
- Aperture & Shutter:
- f/5.6 – f/8 (keeps curved forearms and calves sharp edge-to-edge) · 1/125s – 1/200s handheld (or 1/60s on tripod)
- Room Distance:
- 0.4m – 1.5m (1.5 to 5 ft)
Barbershops, Hairstylists & Color Salons
- Best Body:
- Sony a7 IV / Canon EOS R6 Mark II
- Ideal Lens:
- 50mm f/1.8 (tight stations) or 85mm f/1.8 (spacious salons)
- Aperture & Shutter:
- f/1.8 – f/2.8 (blurs background chairs while keeping the lineup tack-sharp) · 1/160s – 1/250s (freezes subtle head movement in the chair)
- Room Distance:
- 1.5m – 2.4m (5 to 8 ft from the styling chair)
Written by
Marien CartelMarien Cartel runs Marien Cartel Photography, a camera and lens buying-guide site, and photographs the gear shown on it.
Related Guides
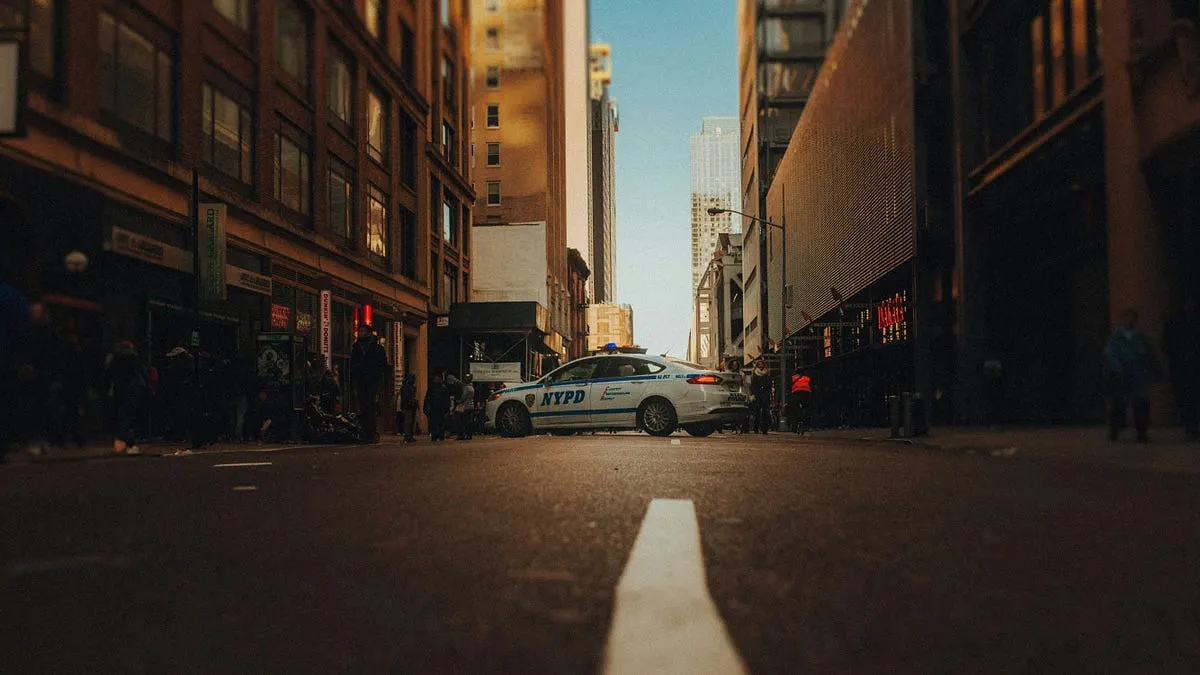
How to avoid legal trouble with street photography
Street photography is a captivating art form that allows you to capture the essence of everyday life in public spaces. However, it’s…
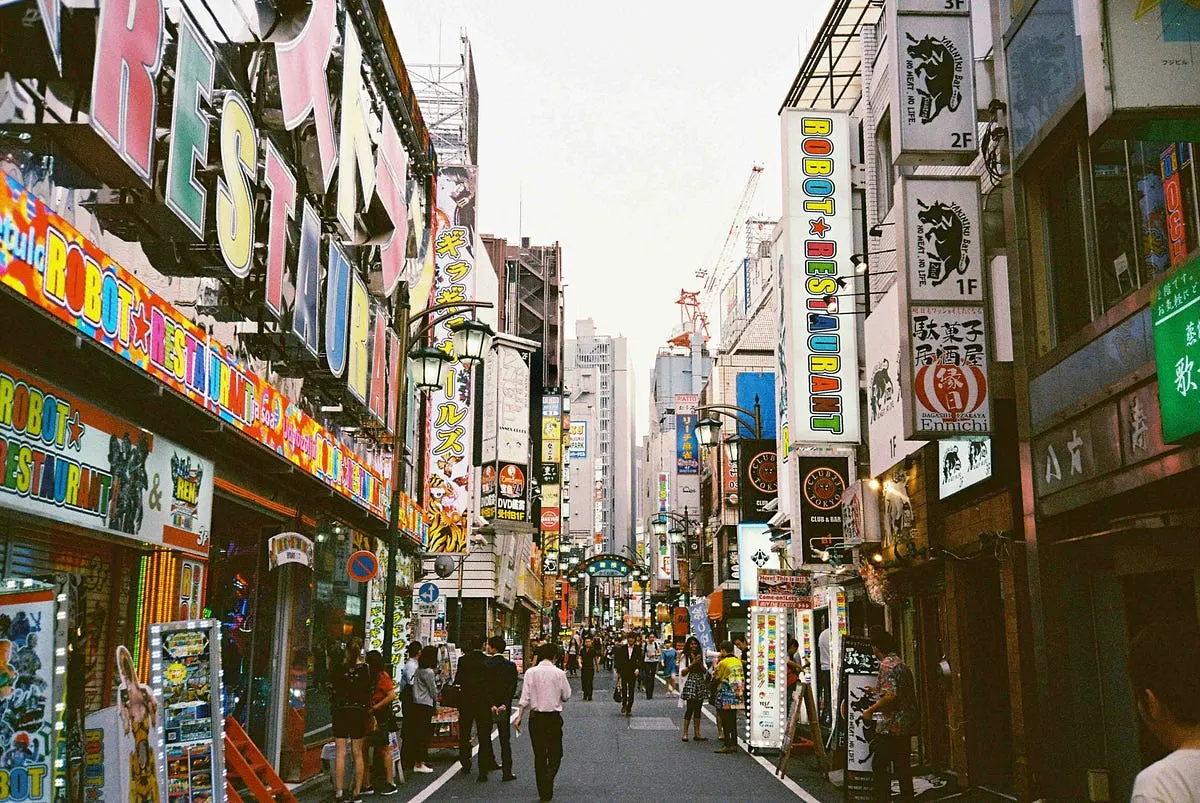
How to find inspiration for street photography
Aim to immerse yourself in the city, focus on specific themes such as urban decay or the beauty of everyday life, and experiment.
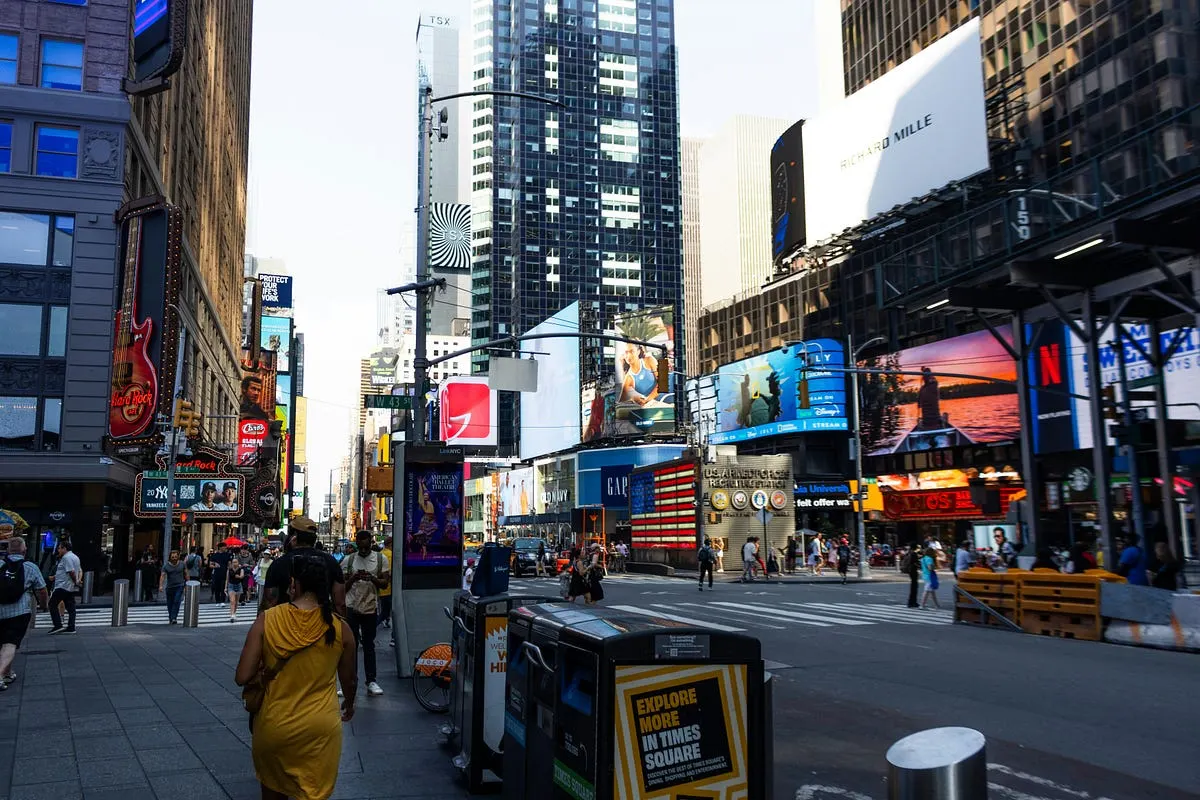
How to improve street photography skills
Practical techniques to improve your street photography: zone focusing, 28mm vs 35mm framing, reading urban light, and anticipating candid human moments.
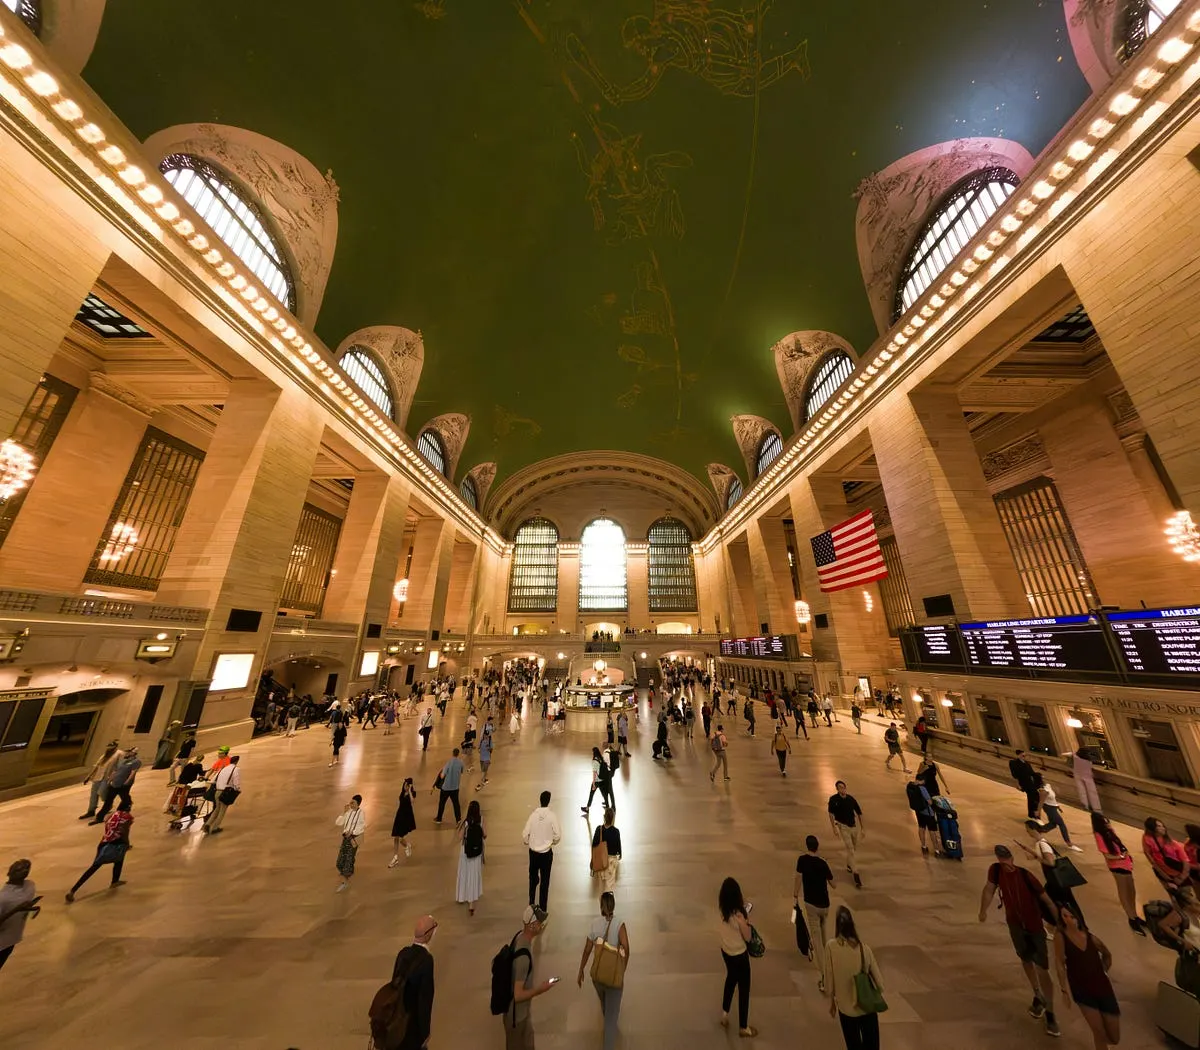
How to get permission for street photography
Street photography, the art of capturing candid moments in public spaces, often raises questions about permission and legal considerations.
Best Compact Cameras for Street Photography
Best Compact Cameras for Street Photography: side-by-side comparison of Fujifilm X100 Series and Sony RX100 Series covering key specs, real-world handling.
Best Camera for Portraits and Street Photography
Best Camera for Portraits and Street Photography — what the Canon 90D offers, where it falls short, and whether it is worth buying.