How to take professional sports photos
As an Amazon Associate we earn from qualifying purchases. Some links in this guide are affiliate links, see our affiliate disclosure for details.
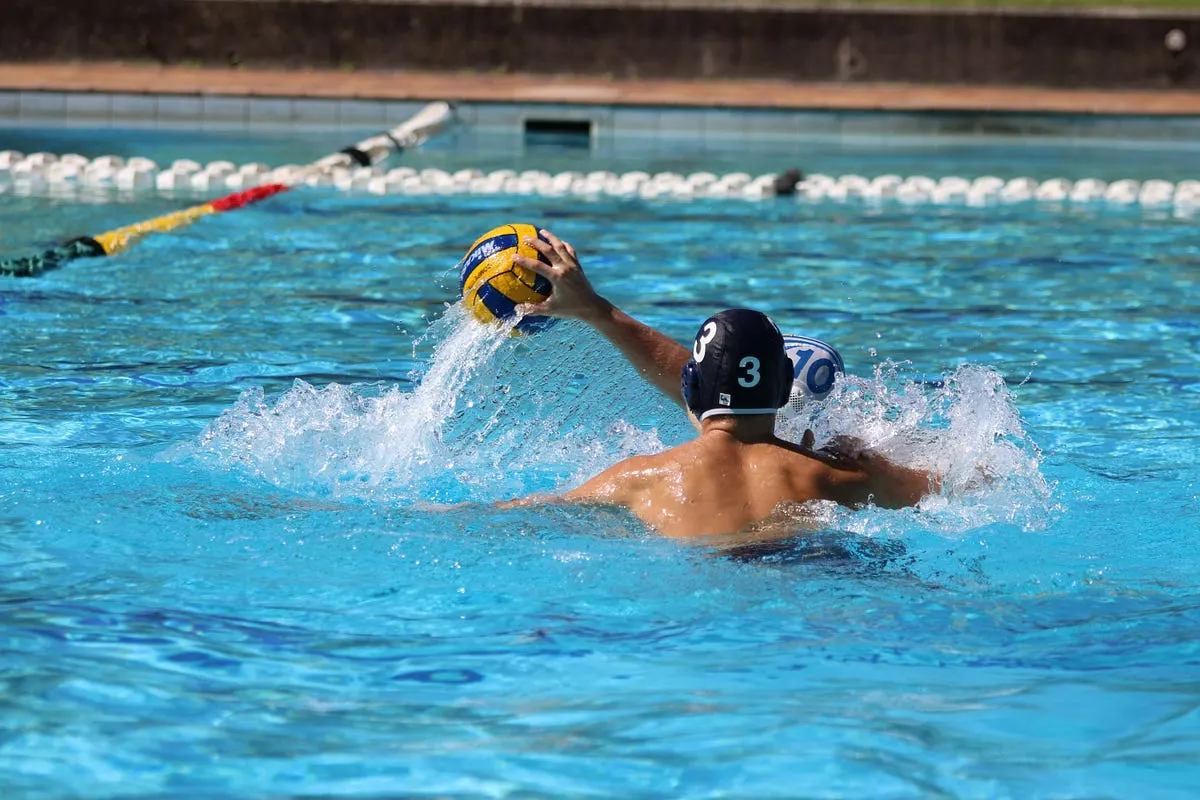
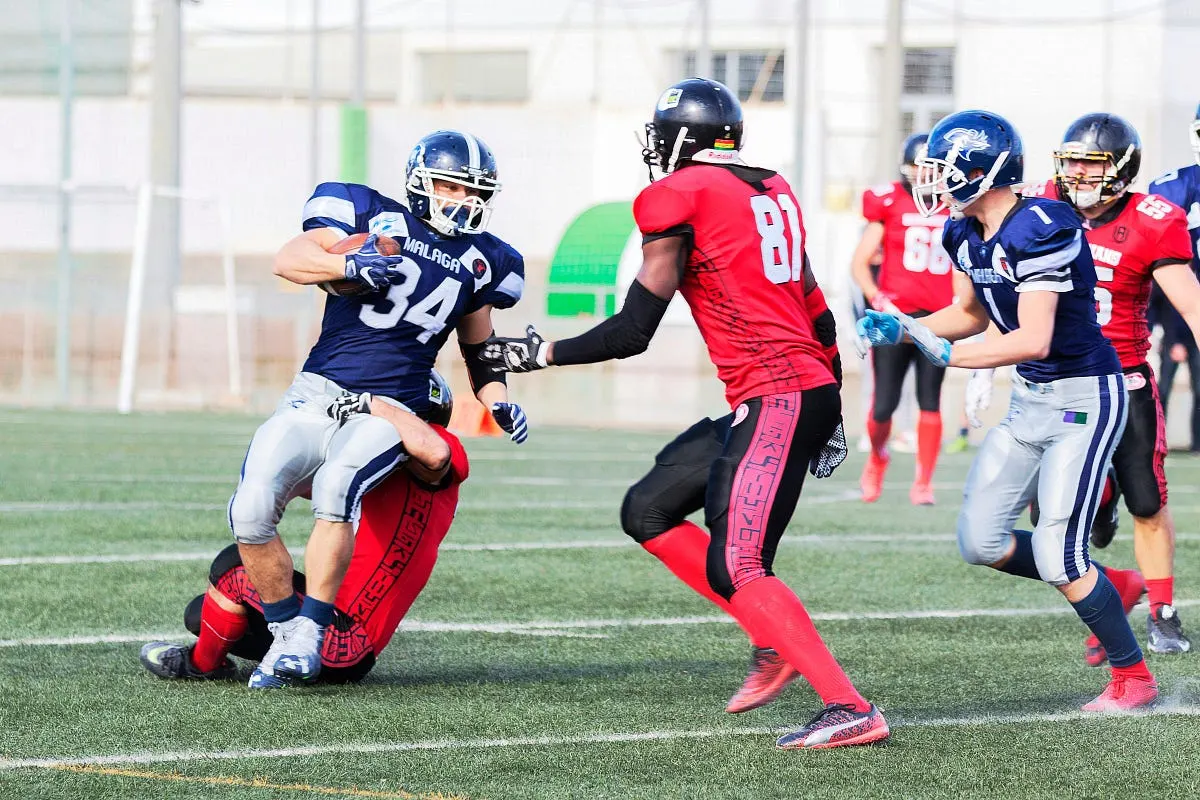
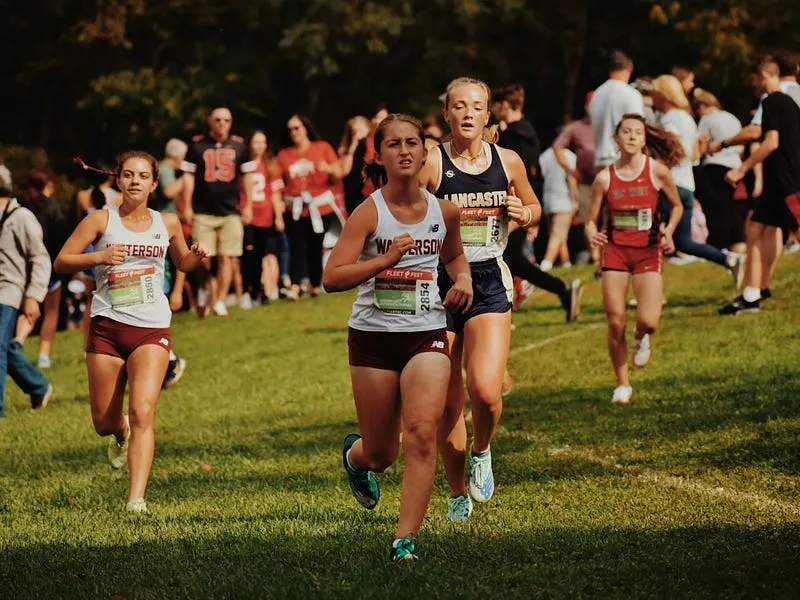
Photo by Andrew Jooste on Unsplash
How do you take professional sports photos?
Below are a personal and professional approach to sports photography, including the lesson to arrive at least two hours early so you can get venue information before the game.
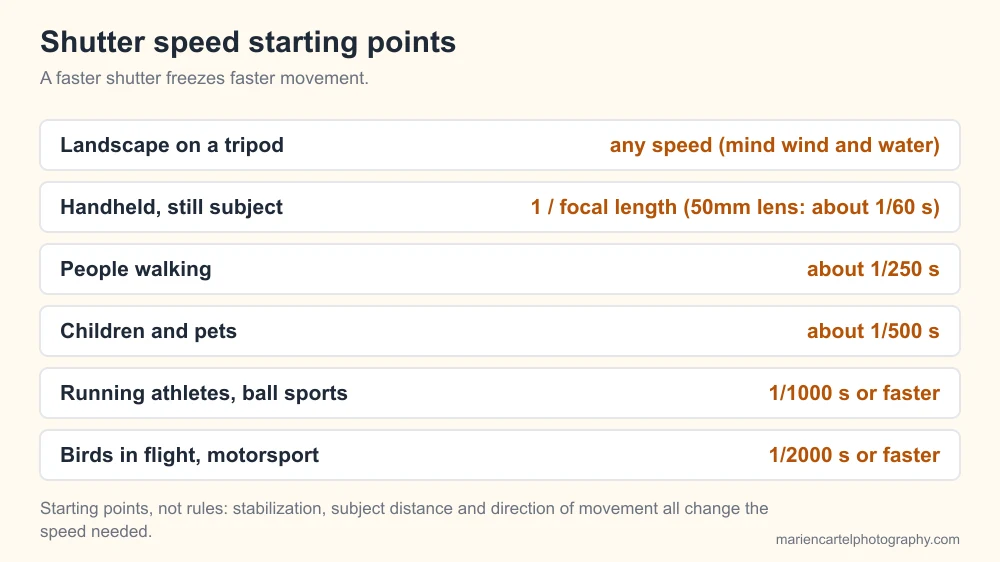
Starting shutter speeds by subject. Original diagram for this site.
Camera Body
- A DSLR or mirrorless camera with high continuous shooting speed (minimum 8fps)
- Good high ISO performance for indoor venues
- Robust autofocus system with multiple focus points
- Weather sealing for outdoor sports
Lenses
- 70–200mm f/2.8: Your workhorse lens for most sports
- 300mm f/2.8 or longer: For field sports like football and soccer
- 24–70mm f/2.8: For close action and environmental shots
- Fast prime lenses (f/1.8 or faster) for indoor sports
The Exposure Triangle
Shutter Speed
- Outdoor sports: 1/1000s minimum
- Indoor sports: 1/500s minimum
- Fast-moving sports (racing): 1/2000s or faster
Aperture
- Prime location: f/2.8-f/4 for subject isolation
- Team sports: f/4-f/5.6 for adequate depth of field
ISO
- Outdoor day: 100–400
- Indoor/night: 1600–6400 (depending on venue lighting)
Autofocus Mastery
- Use back-button focus for better control
- Select appropriate AF modes:
- Single point for precise focusing
- Dynamic area for moving subjects
- 3D tracking for erratic movement
Composition Rules
- Lead Room
- Leave space in front of moving subjects
- Follow the direction of action
- Background Awareness
- Look for clean backgrounds
- Use crowd elements strategically
- Avoid distracting elements
- Storytelling Elements
- Capture emotion and reaction shots
- Include environmental context
- Document key moments
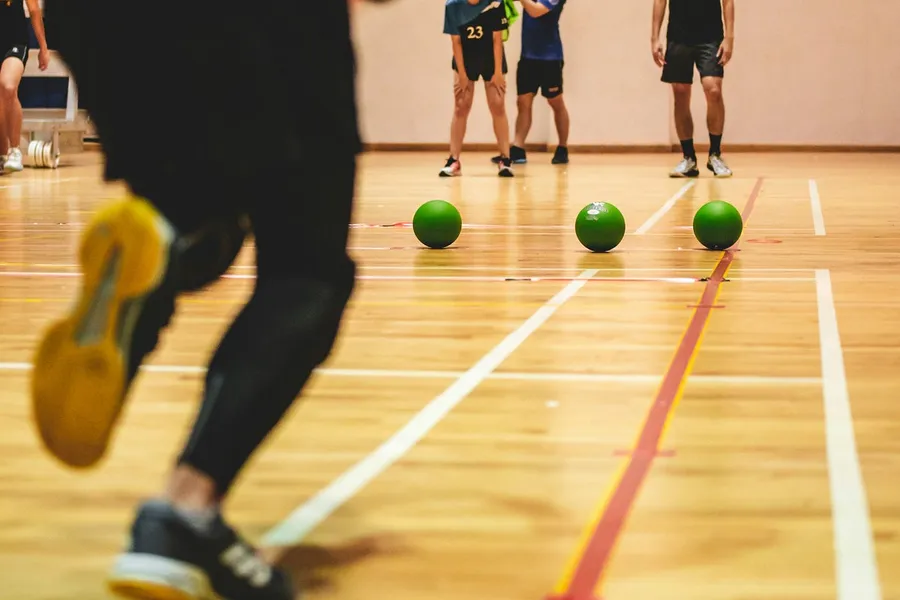
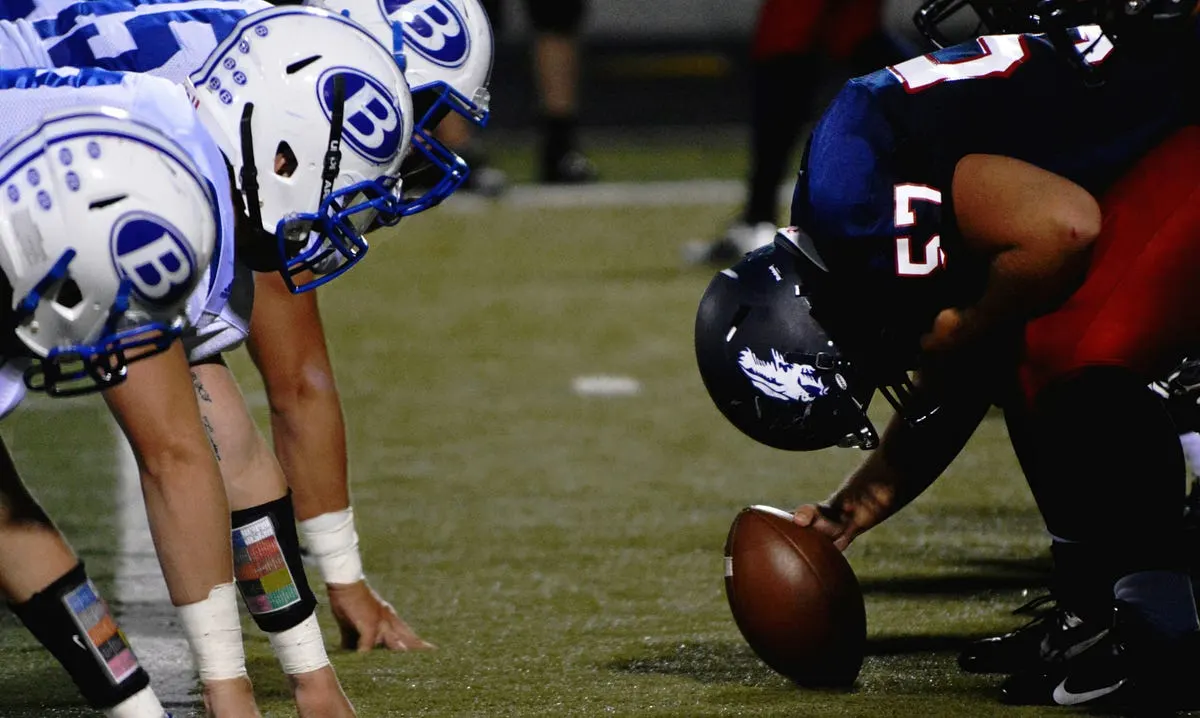
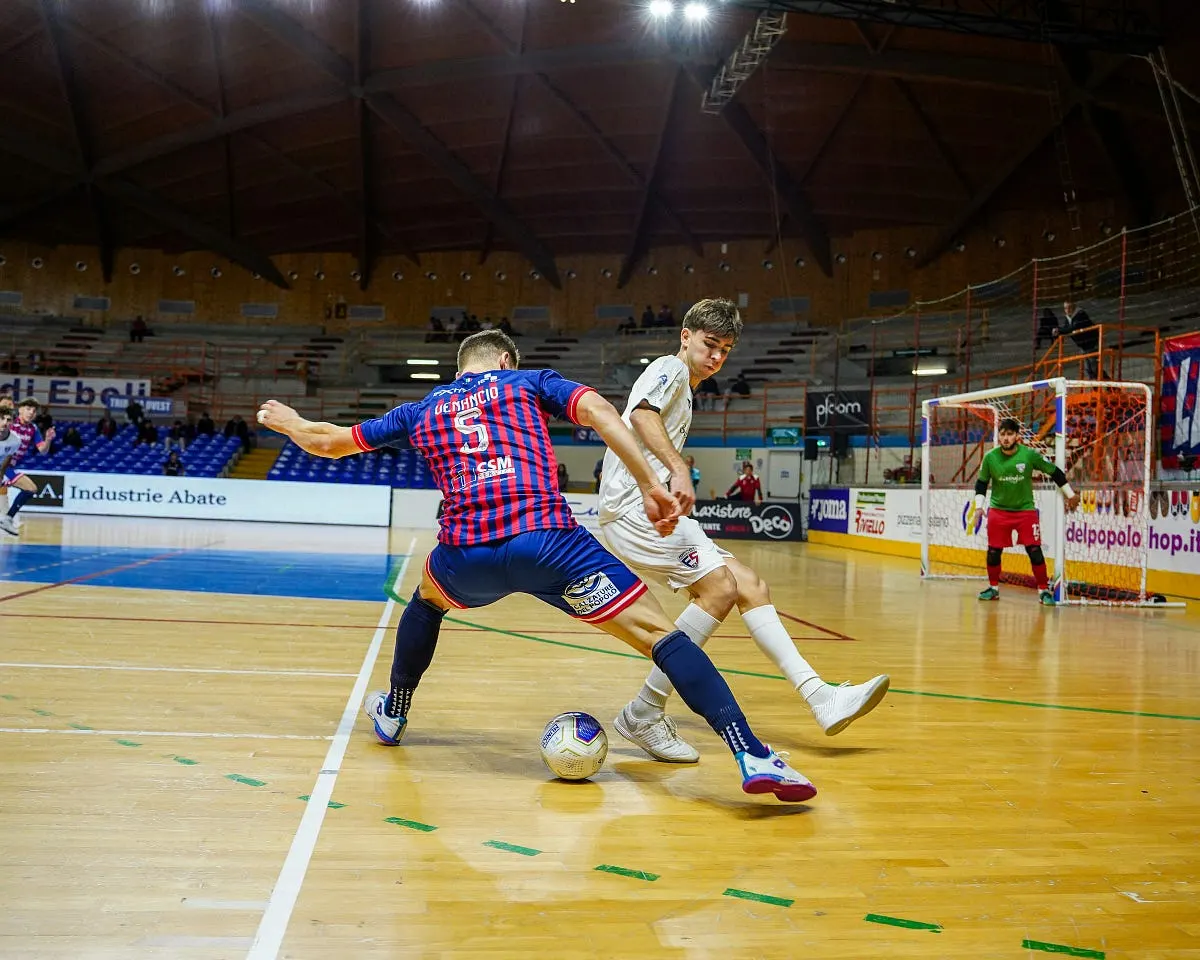
Photo by Wan San Yip on Unsplash
Research
- Study the sport’s rules and patterns
- Know key players and their positions
- Understand venue restrictions and policies
Location Scouting
- Arrive early to find optimal shooting positions
- Note sun position and lighting changes
- Identify multiple vantage points
Indoor Sports
- Use fast prime lenses
- Balance ambient light with artificial lighting
- Position yourself near lighting sources
Outdoor Weather
- Protect equipment with rain covers
- Use UV filters in bright conditions
- Keep spare batteries warm in cold weather
Action Timing
- Anticipate peak moments
- Learn sport-specific cues
- Practice tracking moving subjects
Basic Adjustments
- Exposure and contrast
- White balance correction
- Noise reduction for high ISO shots
- Sharpening for web or print
Advanced Editing
- Selective adjustments for subject emphasis
- Color grading for consistency
- Cropping for impact
Image Selection
- Choose diverse action shots
- Include emotional moments
- Demonstrate technical skill
- Show storytelling ability
Networking
- Join sports photography groups
- Connect with local teams
- Build relationships with other photographers
Final Thoughts
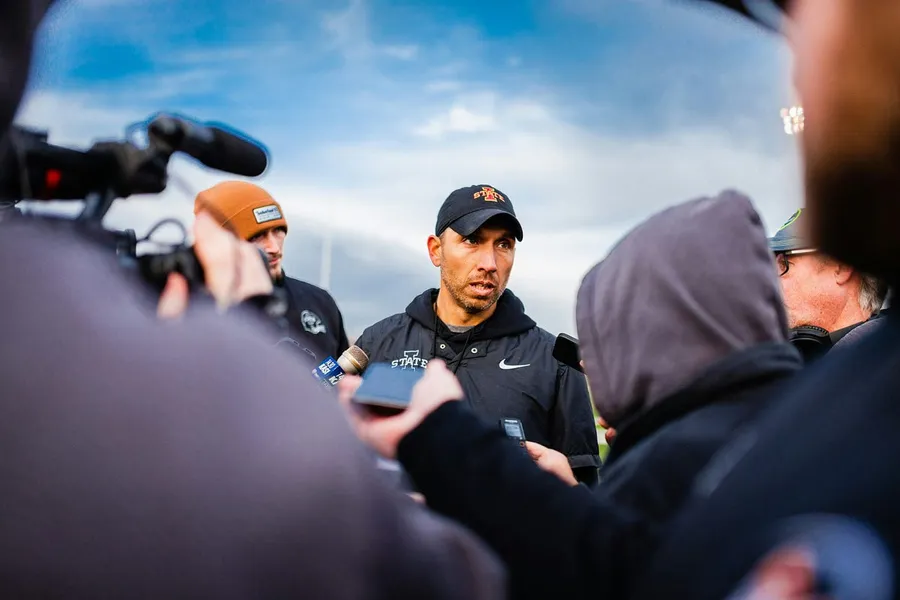
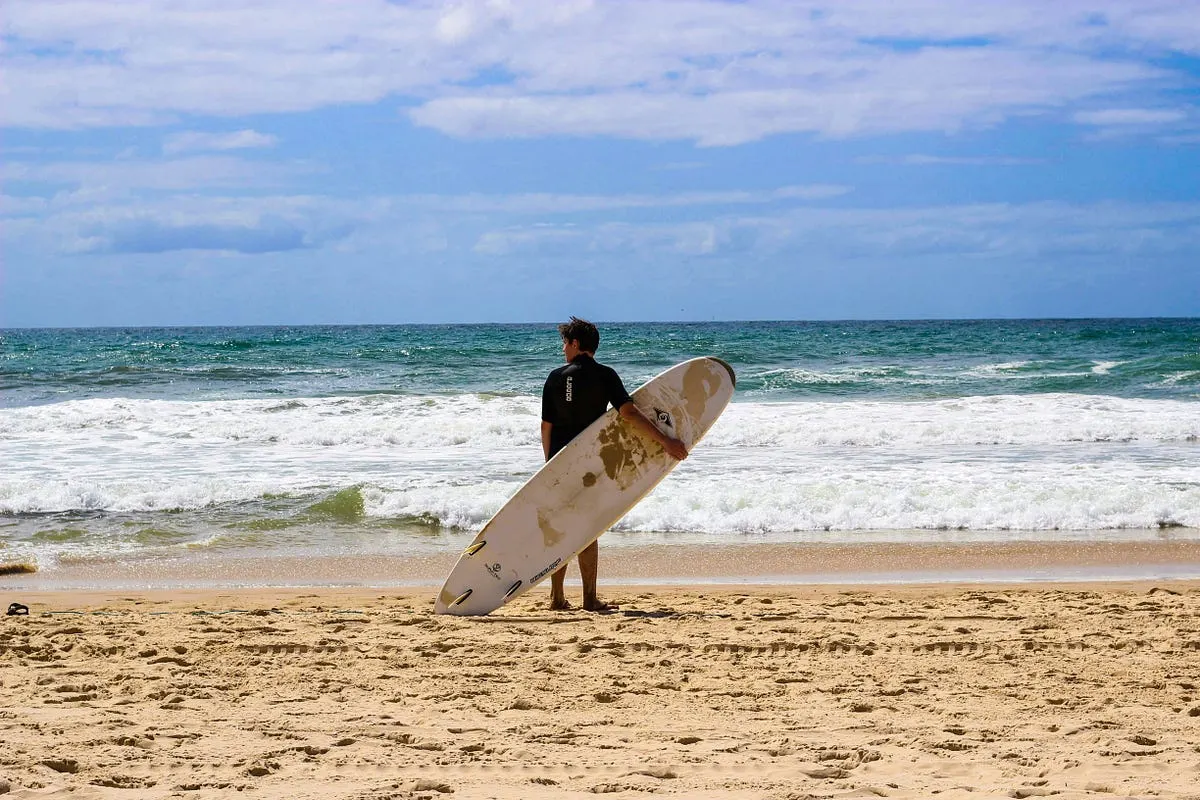
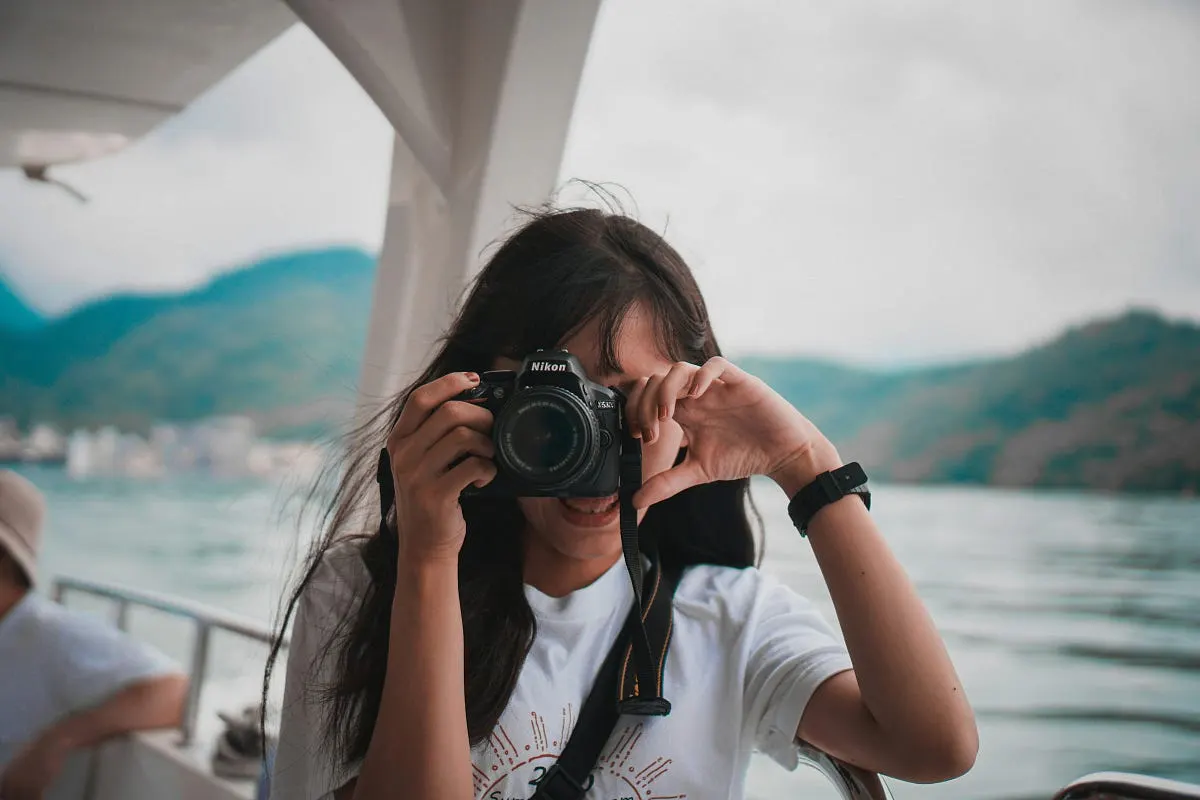
Photo by Jacob Rice on Unsplash
Related guides: How do I get started in sports photography, How to Choose a Lens for Sports Photography, and our field setup directory.
Camera & Lens Settings by Real-World Use Case
Match your focal length, aperture, shutter speed, and lighting modifier to the exact environment you shoot in.
Gym Workouts, Fitness Coaching & Athletic Reels
- Best Body:
- Sony ZV-1 / Panasonic Lumix GH5 & GH7 / Sony a7 III
- Ideal Lens:
- 24mm–35mm f/1.8 or 16–35mm f/2.8 Zoom
- Aperture & Shutter:
- f/1.8 – f/2.8 (isolates athlete from crowded gym equipment) · 1/120s (for 4K 60fps slow-motion) or 1/60s (for 30fps)
- Room Distance:
- 1.5m – 3.0m (5 to 10 ft on a compact floor tripod or magnetic mount)
Youth Sports, GameChanger Baseball/Softball & Golf Swings
- Best Body:
- GoPro Hero 12 Black (Fence Stream) / Canon EOS R50 & R10 (Sideline)
- Ideal Lens:
- RF 100–400mm f/5.6–8 IS USM or 70–200mm f/2.8 (Sideline) / Fixed Wide (Fence)
- Aperture & Shutter:
- f/2.8 – f/5.6 (blurs chain-link fences when shot wide open close to the mesh) · 1/1000s – 1/2000s (baseball bat contact & golf clubhead impact)
- Room Distance:
- 0.1m (snug against chain-link fence) or 10m–40m sideline
Motorsport, Track Days & Automotive Rolling Shots
- Best Body:
- Sony a7 IV / Canon EOS R5 / Fujifilm X-H2S
- Ideal Lens:
- 70–200mm f/2.8 / 100–400mm (trackside) + 24–70mm f/2.8 with CPL (statics & rollers)
- Aperture & Shutter:
- f/2.8 (static separation) or f/8 – f/13 (slow-shutter daytime panning) · 1/60s – 1/125s (track panning), 1/40s – 1/80s (chase rollers), 1/1000s+ (head-on)
- Room Distance:
- 3m – 50m
Written by
Marien CartelMarien Cartel runs Marien Cartel Photography, a camera and lens buying-guide site, and photographs the gear shown on it.
Related Guides
Best Camcorder For Sports: Top Picks & Sensor Comparison
Compare the best camcorders for sports filming, led by the Canon VIXIA HF G50 and Sony AX53 with 20x optical zoom, fast autofocus, and clean HDMI output.
How do I get started in sports photography
Step-by-step guide to getting started in sports photography: sideline positioning, minimum shutter speeds (1/1000s+), continuous autofocus, and budget lenses.
Do sports photographers make good money
Explore how much sports photographers earn across youth leagues, college athletics, wire agencies, and commercial contracts, plus realistic income streams.
Best Canon DSLR Camera for Sports Photography
Best Canon DSLR Camera for Sports Photography: key features, strengths, drawbacks and who should buy the Canon EOS-1D X Mark III.
Best Sony Cameras for Sports: Low-Light, Autofocus & Value Picks
Best Sony Cameras for Sports — Sony A7R V, Sony A7C II and Sony A9 III compared, with pros, cons and who should buy which.
Best Semi Professional Camera: Field Setup & Key Specs
Best Semi Professional Camera: Nikon Z6 III, Sony A7R V and Canon EOS R6 II compared on features, price and who each one suits.