What Camera Is Best for Taking Good Food Pictures
As an Amazon Associate we earn from qualifying purchases. Some links in this guide are affiliate links, see our affiliate disclosure for details.
Recommended Gear for food pictures
The best camera for food pictures is one with a vari-angle screen for overhead shots, a sensor of at least 24 megapixels, a standard or macro lens that fits it, and the ability to sit still on a tripod. Entry-level APS-C bodies such as the Canon EOS Rebel SL3, Sony a6100 and Fujifilm X-S10 meet most of that list. Light, lens and tripod matter more than the camera body.
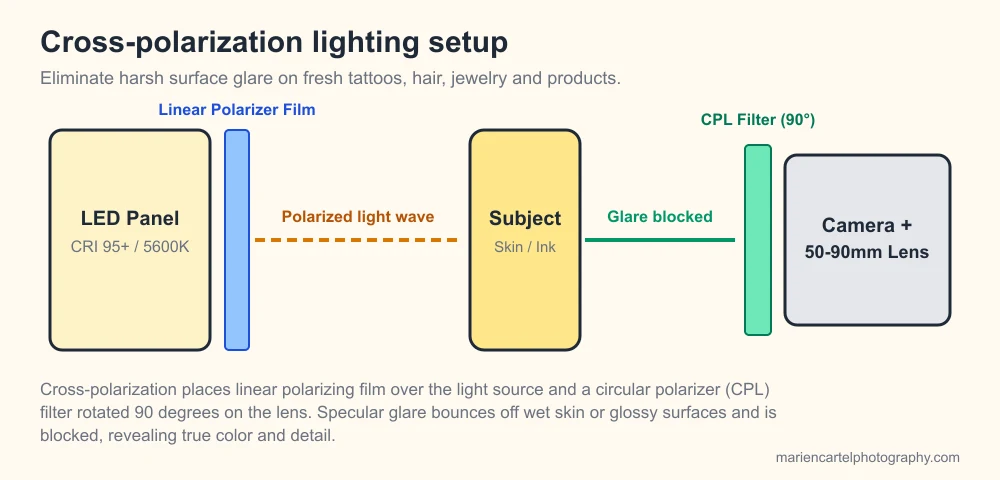
Cross-polarization workflow: linear film on the LED panel paired with a lens CPL filter removes wet skin and surface glare.
What makes a camera good for food photography?
Food holds still, so it does not need the fast autofocus of a sports camera. What helps is control over framing, close focus and clean detail. According to a Digital Camera World buying guide, the features worth checking are sensor size, screen type, macro ability and tethering. The table below lists what each one does.
| Feature | Why it helps with food | What to check |
|---|---|---|
| Vari-angle screen | Lets you frame overhead flat lays from a tripod without craning your neck | A fully articulating screen is more flexible than one that only tilts |
| Sensor size | Larger sensors usually handle dim kitchens and soft window light better | APS-C is fine for most food work, and full frame is the upgrade |
| Resolution | Enough detail for crops and large prints | For web and social posts, roughly 20 to 25 megapixels is plenty |
| Macro and standard lenses | Close focus shows texture, and a 50mm lens suits overhead and natural angles | Check lens availability for the camera's mount before you buy |
| Tethered shooting | Shows the image on a laptop while you style the plate | Confirm support for your software, such as Lightroom or Capture One |
| In-body stabilization | Helps handheld shots in low light | Not essential if the camera sits on a tripod |
Which camera bodies suit food photography?
Three entry-level cameras already covered in our product photography camera guide also work for food. The figures below come from the makers' announcements and specification databases. Check each manufacturer's page for current details before you buy.
| Camera | Sensor | Screen | Stabilization | Notes |
|---|---|---|---|---|
| Canon EOS Rebel SL3 (EOS 250D) | 24.1 MP APS-C | Vari-angle touchscreen | Digital movie stabilization only | About 449 g with battery and card, uses Canon EF and EF-S lenses |
| Sony a6100 | 24.2 MP APS-C | Tilting touchscreen | None in the body | 4K video up to 30p |
| Fujifilm X-S10 | 26.1 MP APS-C | Vari-angle LCD | Five-axis in-body, rated up to 6 stops | Tethered shooting was added in firmware 2.00 |
Sources: Canon USA announcement for the Rebel SL3, Sansmirror specifications for the Sony a6100 and Fujifilm's X-S10 firmware 2.00 announcement.
Two points stand out. The SL3 and X-S10 have screens that swing out, which helps when the camera points straight down. The a6100 screen tilts, which is less flexible for overhead work. The X-S10 is the only one of the three with stabilization in the body, though a tripod makes that less important for tabletop food.
What do other reviews recommend at higher and lower budgets?
The same Digital Camera World guide names the Canon EOS R6 Mark II as a full-frame all-rounder with a vari-angle screen and in-body stabilization, the Nikon Z50 II as a budget mirrorless option, and the Sony A7R IVA for resolution. It also lists the Fujifilm X100VI as a compact choice for direct-to-JPEG work. Those are this breakdown's picks, and we have not tested them. Prices and availability change, so compare current listings.
How to Choose Gear for food photography
A lens often changes food photos more than the body does. Sources such as Bootstrapped Ventures' lens guide agree on a short list.
| Lens type | Best for | Trade-off |
|---|---|---|
| 50mm standard | Overhead shots and natural-looking angles | On an APS-C body it frames like roughly an 80mm lens |
| 90mm to 100mm macro | Close-ups of texture such as pastry flakes or crumb | Long working distance and very shallow depth of field |
| 60mm macro | Tight spaces and close work | The short distance can cast shadows on the food |
| 24mm to 35mm wide | Wide flat lays with many props | Can distort items near the edges |
| 24-70mm zoom | One lens for several angles | Larger and heavier than a prime |
For brand-specific lens advice, see our guides to Canon macro lenses, Nikon macro lenses, Sony macro lenses and Canon RF lenses for product photography. If the lens names are confusing, camera lenses explained decodes them.
What settings and light should you use for food photos?
Light matters most. Natural window light is the usual starting point, with a diffuser to soften harsh sun and a white card to bounce light into shadows, as the PhotoWorkout food photography guide explains. Side light adds depth, while direct overhead room lighting and fluorescent bulbs can flatten food or add a colour cast.
A starting set of camera settings, drawn from the sources above:
- Mode: aperture priority or manual, so the look stays consistent across a series.
- Aperture: around f/5.6 to f/8 keeps a flat lay sharp. A wider aperture suits a close shot with a blurred background. Sources disagree on one exact value, so test your own setup.
- ISO: keep it low, roughly 100 to 400, to limit noise.
- Shutter speed: about 1/125 second or faster handheld. On a tripod it can be slower.
- Format: shoot RAW so you can correct white balance and exposure afterwards.
- Angles: overhead at 90 degrees for flat lays, about 45 degrees for most plated dishes and straight-on for tall foods such as burgers and cakes.
A tripod keeps framing consistent and frees your hands for styling. For overhead shots, a tripod with a tilting centre column or a boom arm keeps the legs out of the frame. A remote release or the self-timer avoids shake.
Is a phone good enough for food pictures?
A recent phone can work well for social posts, especially in good window light. A dedicated camera helps when you want shallow depth of field, close focus from a proper macro lens, consistent colour across many images or large prints. For recipe videos, see the best camera for kitchen video.
Mistakes to avoid when choosing a camera for food
- Buying by megapixels alone. Light and lenses affect food photos more than extra resolution.
- Skipping a tripod. Without one, framing and sharpness vary from shot to shot.
- Ignoring the screen. A fixed or tilt-only screen makes overhead framing harder.
- Using on-camera flash. Direct flash flattens food and creates harsh highlights. Window light is the usual alternative.
- Forgetting white balance. A grey card or a RAW file lets you correct a colour cast from kitchen bulbs.
- Choosing the camera before the lens. Check that the mount has a standard lens and a macro lens you can afford.
Frequently asked questions
Do I need a full-frame camera for food photography? No. APS-C cameras produce excellent food photos when the light is good and the lens is sharp. Full frame mainly helps in dim kitchens and gives a shallower depth of field.
What is the best lens for food photography? A 50mm lens is a common all-round choice for overhead and natural-looking angles, and a 90mm to 100mm macro lens suits close-ups of texture. Sources describe both as popular starting points.
What aperture should I use for food photography? Many guides suggest roughly f/5.6 to f/8 for flat lays so the whole dish stays sharp, and a wider aperture for close shots with a soft background. Test your own setup, because the right value depends on the camera distance and the height of the food.
Is a vari-angle screen necessary? It is not required, but it is one of the most useful features. It lets you frame overhead shots from a tripod without bending over the camera.
Can I shoot food with natural light only? Yes. A large window with a diffuser and a white reflector is a common set-up. Avoid direct sun and mixed room lighting for the cleanest colour.
Should I shoot RAW or JPEG? RAW keeps more data, so you can adjust white balance and exposure without losing quality. If your camera cannot shoot RAW, use the largest JPEG setting.
Camera & Lens Settings by Real-World Use Case
Match your focal length, aperture, shutter speed, and lighting modifier to the exact environment you shoot in.
Food, Restaurant & Culinary Photography
- Best Body:
- Sony a7 IV / Fujifilm X-T5 / Canon EOS R6 Mark II
- Ideal Lens:
- 35mm f/1.8 (overhead flat-lay) + 50mm/85mm Macro (45° hero angle)
- Aperture & Shutter:
- f/2.8 – f/4 for hero angle; f/5.6 – f/8 for overhead flat-lays · 1/125s+ handheld or 1/500s for pour/powder action shots
- Room Distance:
- 0.6m – 1.5m (overhead C-stand arm or tripod)
Jewelry, Watches, Diamonds & Fine Collectibles
- Best Body:
- Canon EOS R5 / Nikon Z7 II / OM System OM-1 Mark II
- Ideal Lens:
- 90mm – 105mm f/2.8 1:1 Macro Lens
- Aperture & Shutter:
- f/8 – f/11 with 10–25 focus-stacked frames · Electronic front-curtain shutter on tripod (2-sec self-timer)
- Room Distance:
- 0.25m – 0.45m (10 to 18 inches)
Dental, Orthodontic & Clinical Documentation
- Best Body:
- Canon EOS R50 / Canon EOS 90D / Nikon Z50 II
- Ideal Lens:
- Canon EF/RF 100mm f/2.8 Macro or Nikon MC 105mm f/2.8 Macro
- Aperture & Shutter:
- f/16 – f/22 (intraoral arch depth of field) or f/8 (extraoral portrait) · 1/160s – 1/200s (X-sync with macro ring or twin flash)
- Room Distance:
- 0.25m – 0.4m (intraoral) / 1.5m (full-face smile portrait)
Written by
Marien CartelMarien Cartel runs Marien Cartel Photography, a camera and lens buying-guide site, and photographs the gear shown on it.
Related Guides
Prime vs Zoom Lenses: Which Should You Actually Buy First
This breakdown challenges the common advice to simply buy a prime. It describes a buying mistake that cost two lens purchases and then gives the order in which.
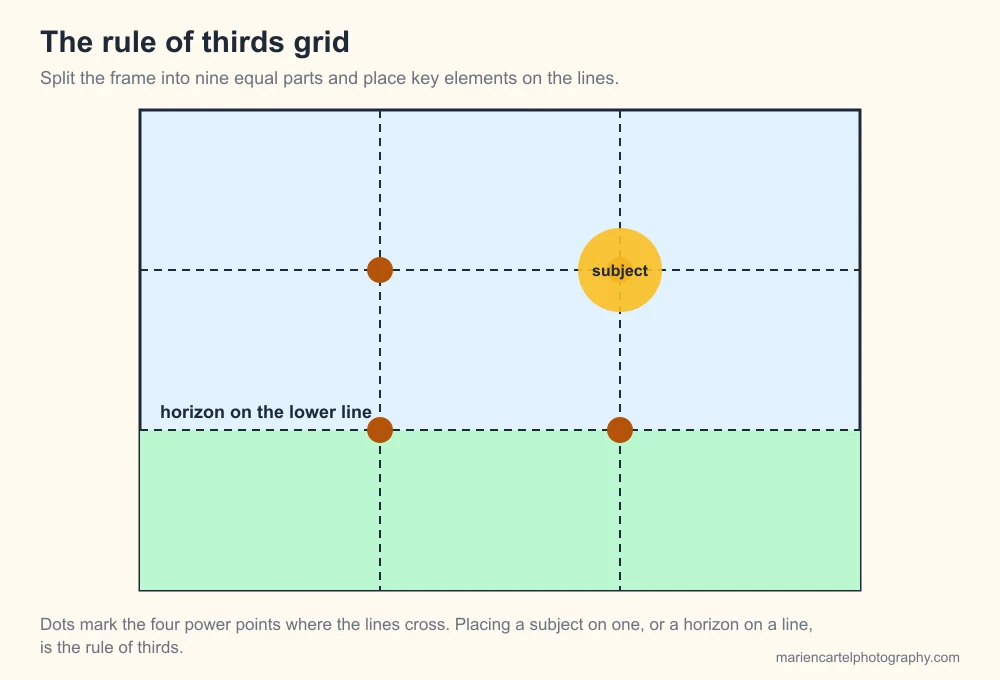
What Is the 20-60-20 Rule in Photography? Composition, Lighting & Workflow Guide
Learn the three ways photographers use the 20-60-20 rule: visual weight composition (20% foreground, 60% subject, 20% background), lighting ratios, and workflow.
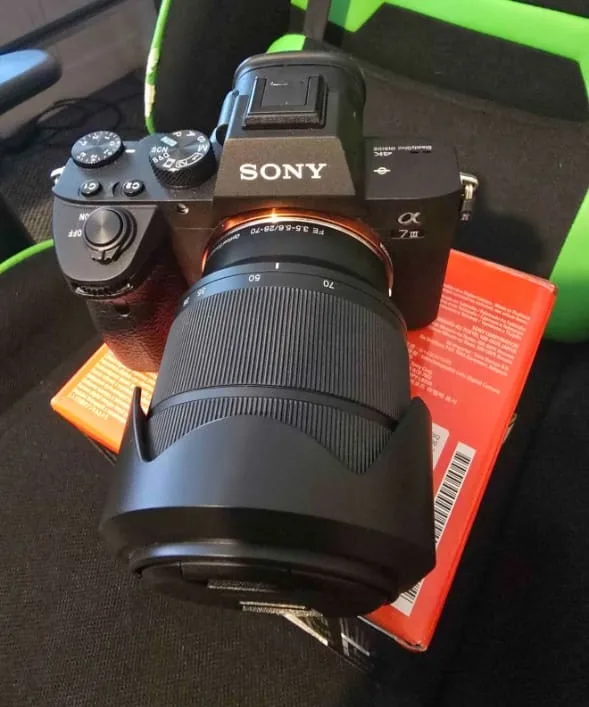
How to Choose a Lens for Wildlife and Bird Photography
Choosing a lens for wildlife and bird photography comes down to focal length, maximum aperture, stabilization and weight. Here's how each one trades off.
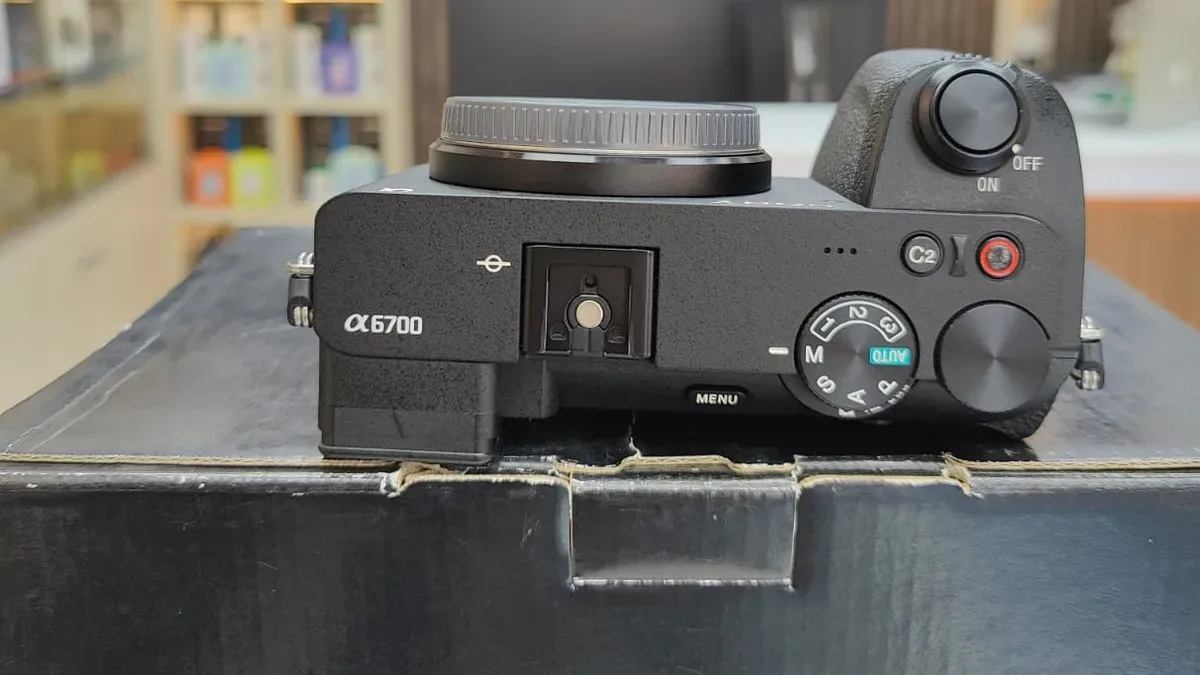
Which Camera Shooting Mode Should You Use? Auto, P, A, S and M Explained
Auto, Program, Aperture Priority, Shutter Priority and Manual: what each mode controls, what you still set yourself, and how to choose one for a shot.
How to Choose a Lens for Astrophotography and Night Sky Photos
Choosing an astrophotography lens means balancing focal length, a fast aperture and corner sharpness. Here's how to weigh each one for night sky shots.
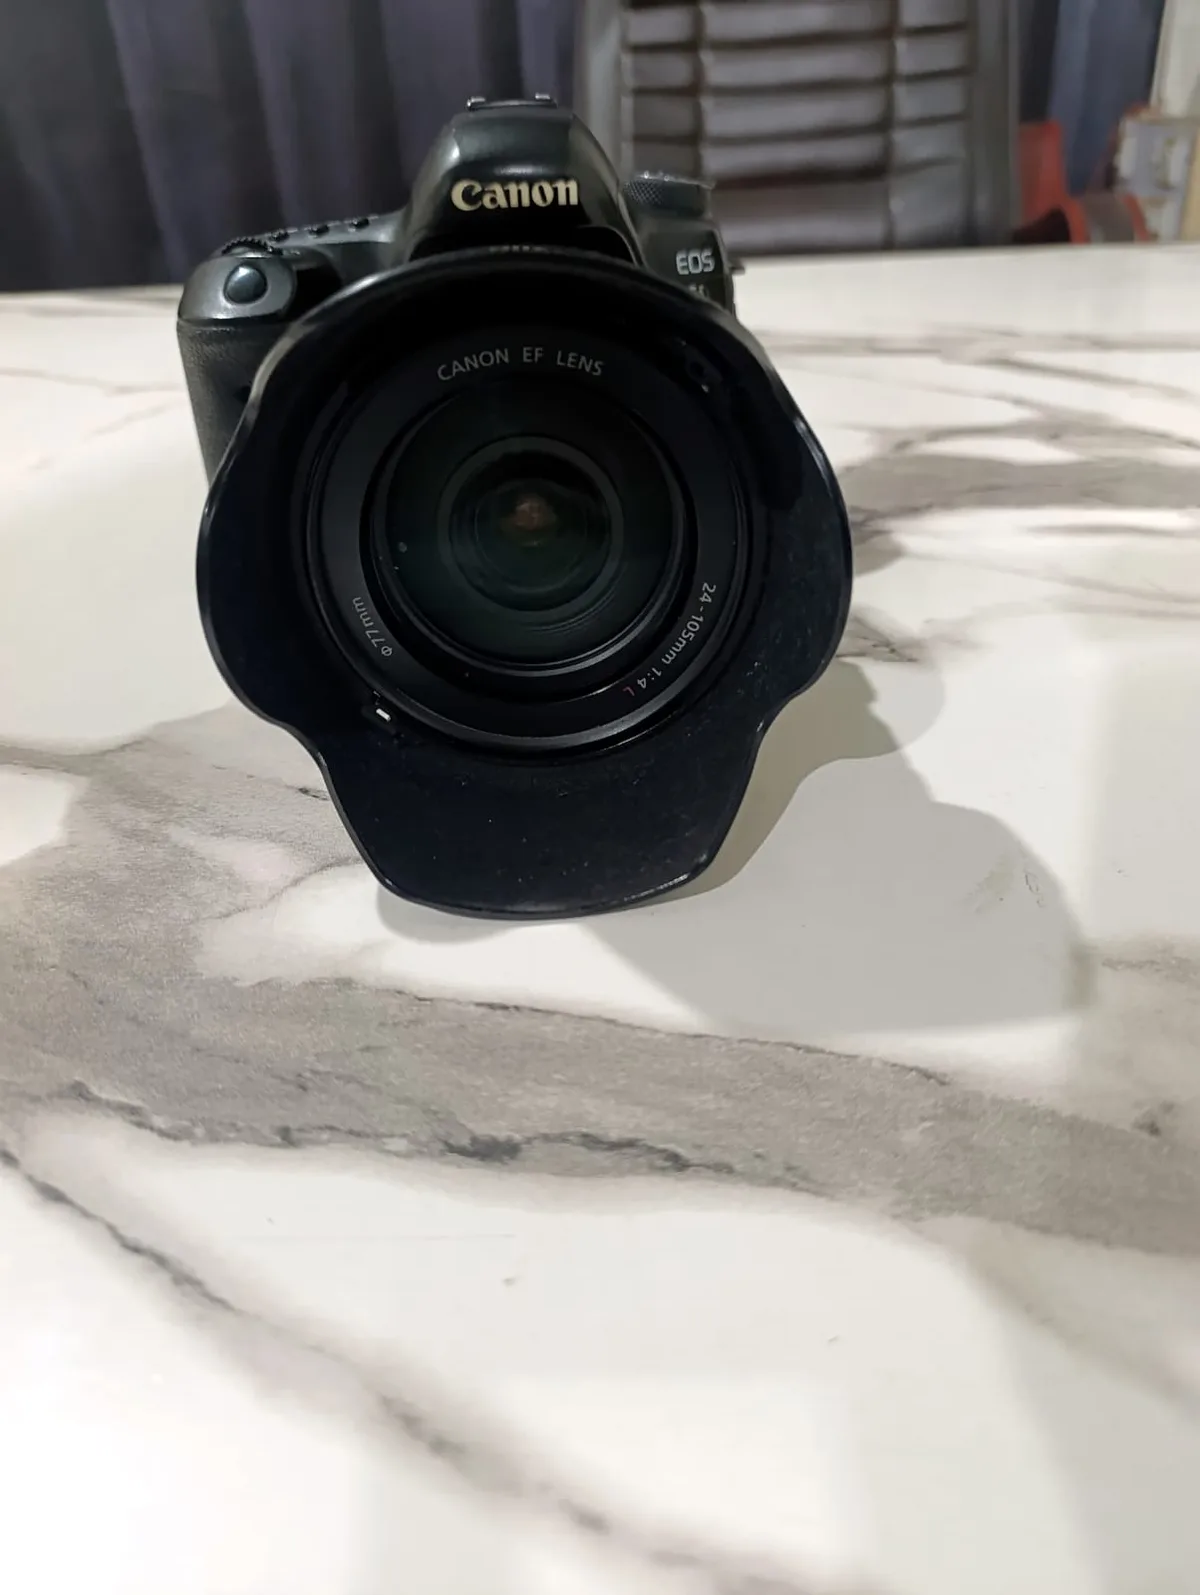
Camera Lenses Explained: What All the Numbers and Letters Mean
EF 24-105mm f/4L IS USM — decoded piece by piece. What focal length and f-numbers actually do, what every brand's letters mean.