How much to charge for travel photography
As an Amazon Associate we earn from qualifying purchases. Some links in this guide are affiliate links, see our affiliate disclosure for details.
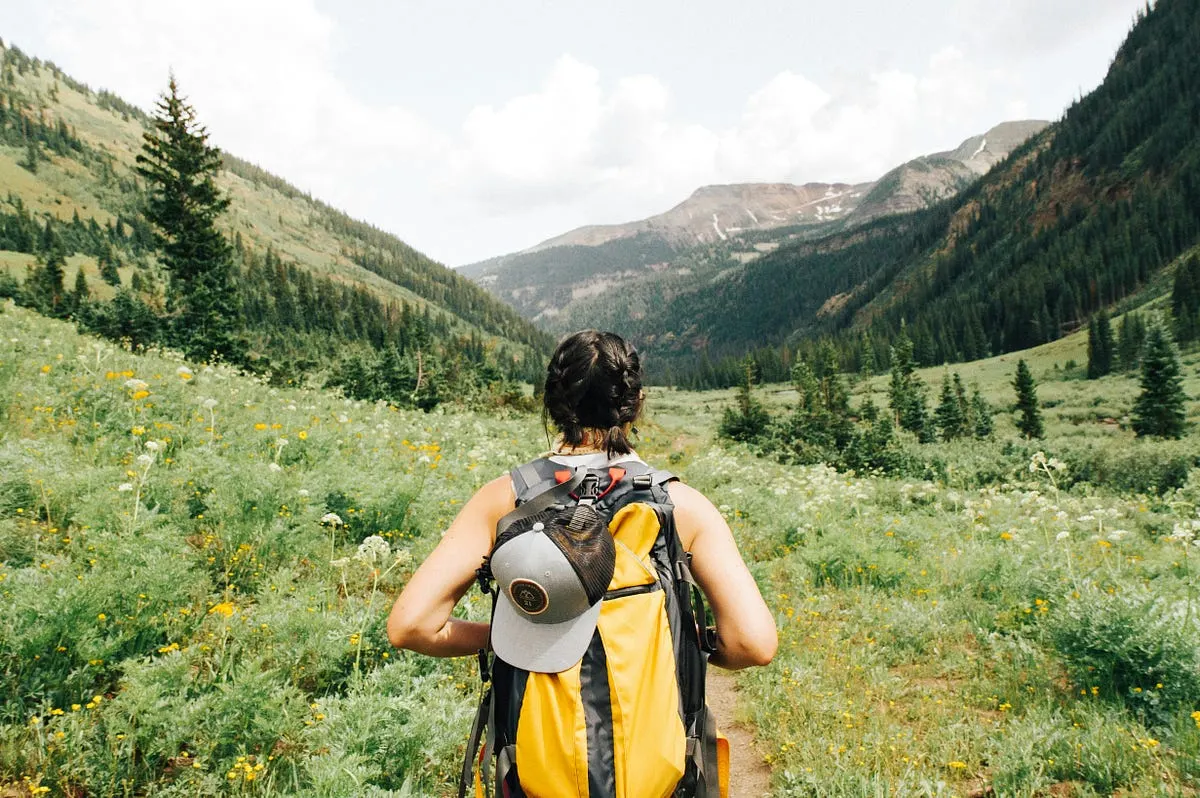
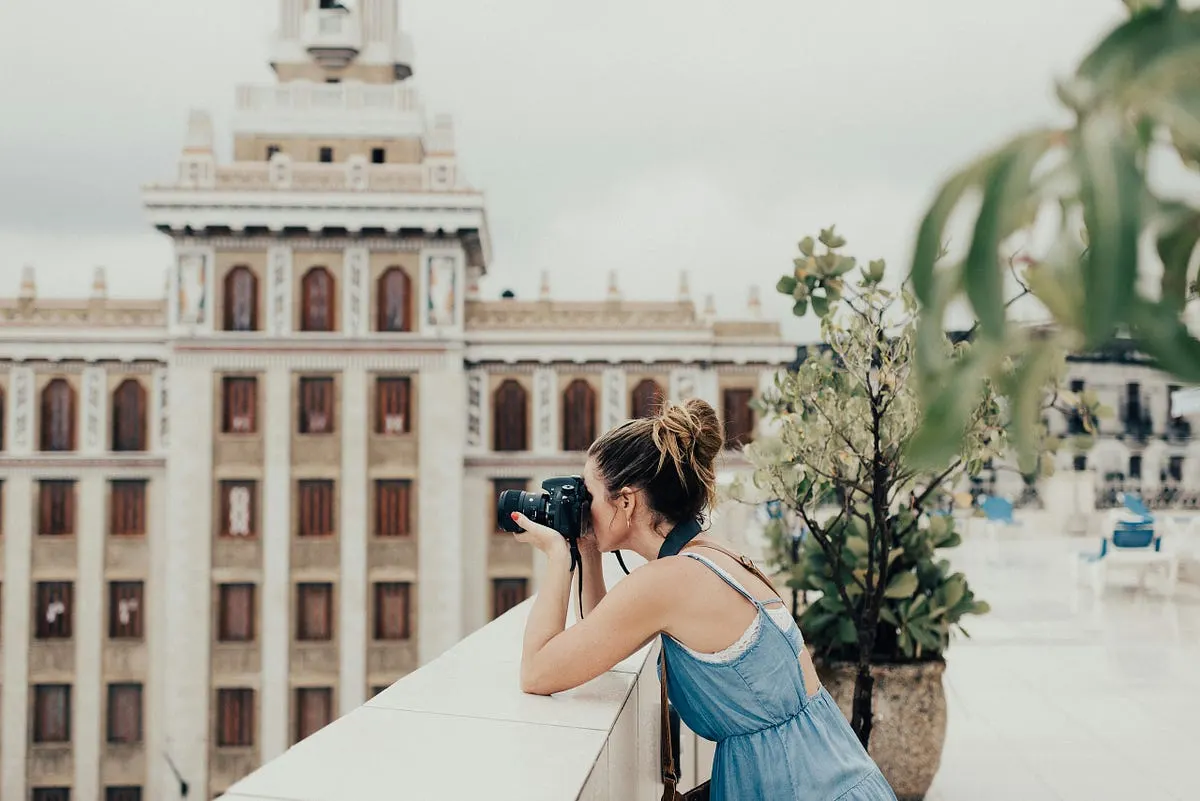
Photo by Holly Mandarich on Unsplash
How much should you charge for travel photography?
there is no single rate and explains how the author prices travel photography. Its main lesson is that clients who value your work will pay your rates.
Understanding the Value Pyramid
Before we dive into specific numbers, let’s talk about what we’re really selling. As travel photographers, we’re not just selling images — we’re selling:
- Expertise and experience
- Unique perspectives and storytelling
- Technical skills and equipment investment
- Time (both shooting and post-processing)
- The ability to work in challenging environments
- Years of developing our artistic eye
1. Direct Client Work (Commercial)
- Day rate: $1,000–2,500
- Half-day rate: $500–1,200
- Per-image licensing: $250–1,000 depending on usage
- Full buyout: 3–5x the standard licensing fee
2. Stock Photography
Stock photography can provide passive income, but don’t expect to get rich quick:
- Microstock: $0.25–5 per image
- Premium stock: $50–500 per image
- Rights-managed: $500–5,000+ per image
3. Editorial Work
Magazine and publication rates vary widely:
- Online publications: $100–500 per story
- Print magazines: $250–1,500 per story
- Major publications: $500–3,000+ per story
Experience Level
- Entry-level: 40–60% of standard rates
- Mid-level (3–5 years): Standard rates
- Expert (5+ years): Premium rates (125–200% of standard)
Geographic Market
- Major cities: Standard rates x 1.5
- International markets: Varies by country
- Developing markets: 50–75% of standard rates
Project Scope
Consider these elements when pricing:
- Travel time and expenses
- Equipment requirements
- Delivery timeline
- Usage rights
- Exclusivity
- Post-processing requirements
Basic Travel Package ($2,500)
- 1 full day of shooting
- 20 fully edited images
- Basic usage rights
- Travel expenses not included
Premium Travel Package ($5,000)
- 2 full days of shooting
- 50 fully edited images
- Extended usage rights
- Basic social media package
- Travel expenses included (within reasonable distance)
Luxury Travel Package ($10,000+)
- 3–5 days of shooting
- 100+ fully edited images
- Full commercial rights
- Comprehensive social media package
- All travel expenses included
- Rush delivery option
- Raw files included
The Art of Negotiation
Remember these points when discussing rates:
- Always start higher than your minimum
- Be clear about what’s included
- Have package options ready
- Be prepared to explain your value
- Don’t be afraid to walk away
Red Flags to Watch For
- Clients focus solely on price
- They promise “exposure” instead of payment
- They rush to book without discussing details
- They’re unclear about usage rights
- They expect unlimited revisions
Investment in Growth
As your skills and portfolio grow, remember to:
- Regularly review and adjust your rates
- Invest in quality equipment
- Build a strong online presence
- Network with other professionals
- Continue your education
Final Thoughts
Pricing travel photography isn’t just about picking numbers — it’s about understanding your value and the market you serve. Start where you’re comfortable, but don’t be afraid to raise your rates as you gain experience. Remember, you’re not just selling photos; you’re selling your unique vision and expertise.
Related guides: How to become a travel photographer, How to take professional sports photos, and our bokeh & framing tool.
Camera & Lens Settings by Real-World Use Case
Match your focal length, aperture, shutter speed, and lighting modifier to the exact environment you shoot in.
Street Photography, Japan/Europe Trips & Backpacking
- Best Body:
- Fujifilm X100VI / Ricoh GR III / Fujifilm X-T30 II / Sony a6700
- Ideal Lens:
- 23mm f/2 or 27mm f/2.8 Pancake (APS-C) — 35mm to 40mm equivalent
- Aperture & Shutter:
- f/2.0 (neon night street) or f/5.6 – f/8 (sunny zone-focusing from 2m to infinity) · 1/250s – 1/500s (freezes pedestrians mid-stride)
- Room Distance:
- 1.5m – 5m (candid street distance)
DJ Sets, Boiler-Room Booths & Nightlife Video
- Best Body:
- Sony a7 III / Sony ZV-1 / GoPro HERO 13 (crowd B-cam)
- Ideal Lens:
- 24mm f/1.8 or 16–35mm f/2.8 (tight DJ booth) + 35mm f/1.4 (crowd)
- Aperture & Shutter:
- f/1.4 – f/2.8 · 1/50s – 1/60s (video) or 1/200s (stills)
- Room Distance:
- 0.8m – 1.5m clamped to booth truss or heavy weighted stand (isolated from subwoofers)
Tattoo Artists & Micro-Realism Portfolios
- Best Body:
- Sony Alpha a7 III / Fujifilm X-T4
- Ideal Lens:
- 90mm f/2.8 Macro (detail) or 50mm f/1.8 (sleeves & back pieces)
- Aperture & Shutter:
- f/5.6 – f/8 (keeps curved forearms and calves sharp edge-to-edge) · 1/125s – 1/200s handheld (or 1/60s on tripod)
- Room Distance:
- 0.4m – 1.5m (1.5 to 5 ft)
Written by
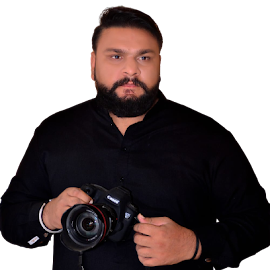
Marien CartelMarien Cartel runs Marien Cartel Photography, a camera and lens buying-guide site, and photographs the gear shown on it.
Related Guides
How to become a travel photographer: Top Bodies Compared by Budget
Practical guide to becoming a travel photographer: building a location portfolio, choosing lightweight weather-sealed gear, and pitching tourism clients.
What Are Some Of The Best Travel Photography Tips
Essential travel photography tips for sharper, more memorable photos: golden-hour timing, 24-70mm vs 35mm prime packing, environmental portraits, and backups.
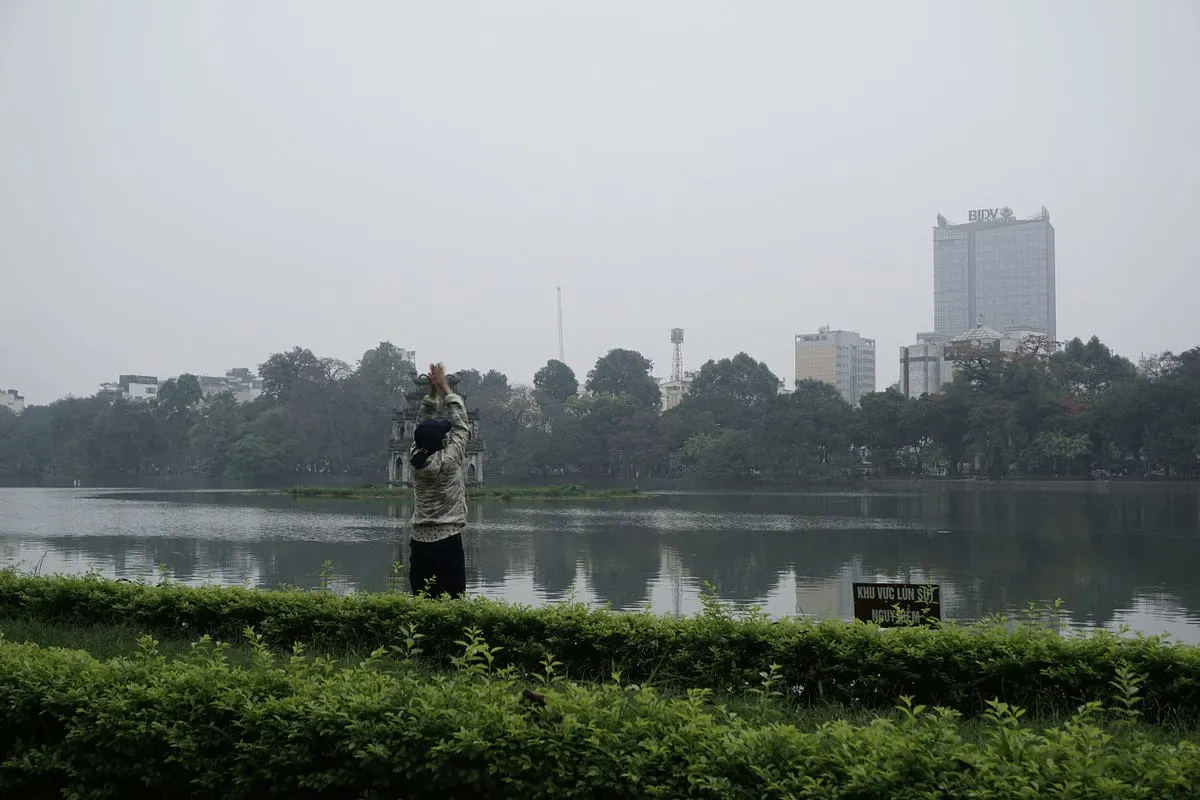
What do you value most in your travel photography
Explore how storytelling, local light, candid cultural moments, and compact camera choices shape meaningful travel photography beyond postcard clichés.
Best Camera For Travel Photography Beginners
Best Camera For Travel Photography Beginners: Sony Alpha a6000 and Canon EOS M50 Mark II evaluated side by side on specs, lens options, and value for money.
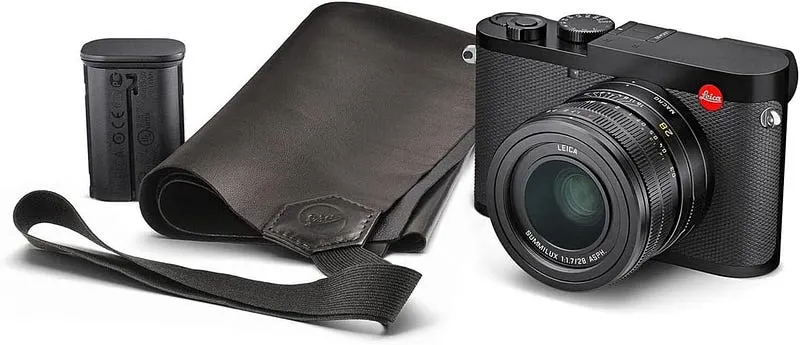
Best Leica Camera for Travel: Top Picks & Sensor Comparison
Best Leica Camera for Travel — what the Leica Q2 offers, where it falls short, and whether it is worth buying.
Best Compact Camera for Travel Under $500 (2026)
Fujifilm XF10, Sony RX100 III/IV/V, Canon G9 X II and Lumix LX10 compared for travel under $500 (mostly used): sensor, lens.